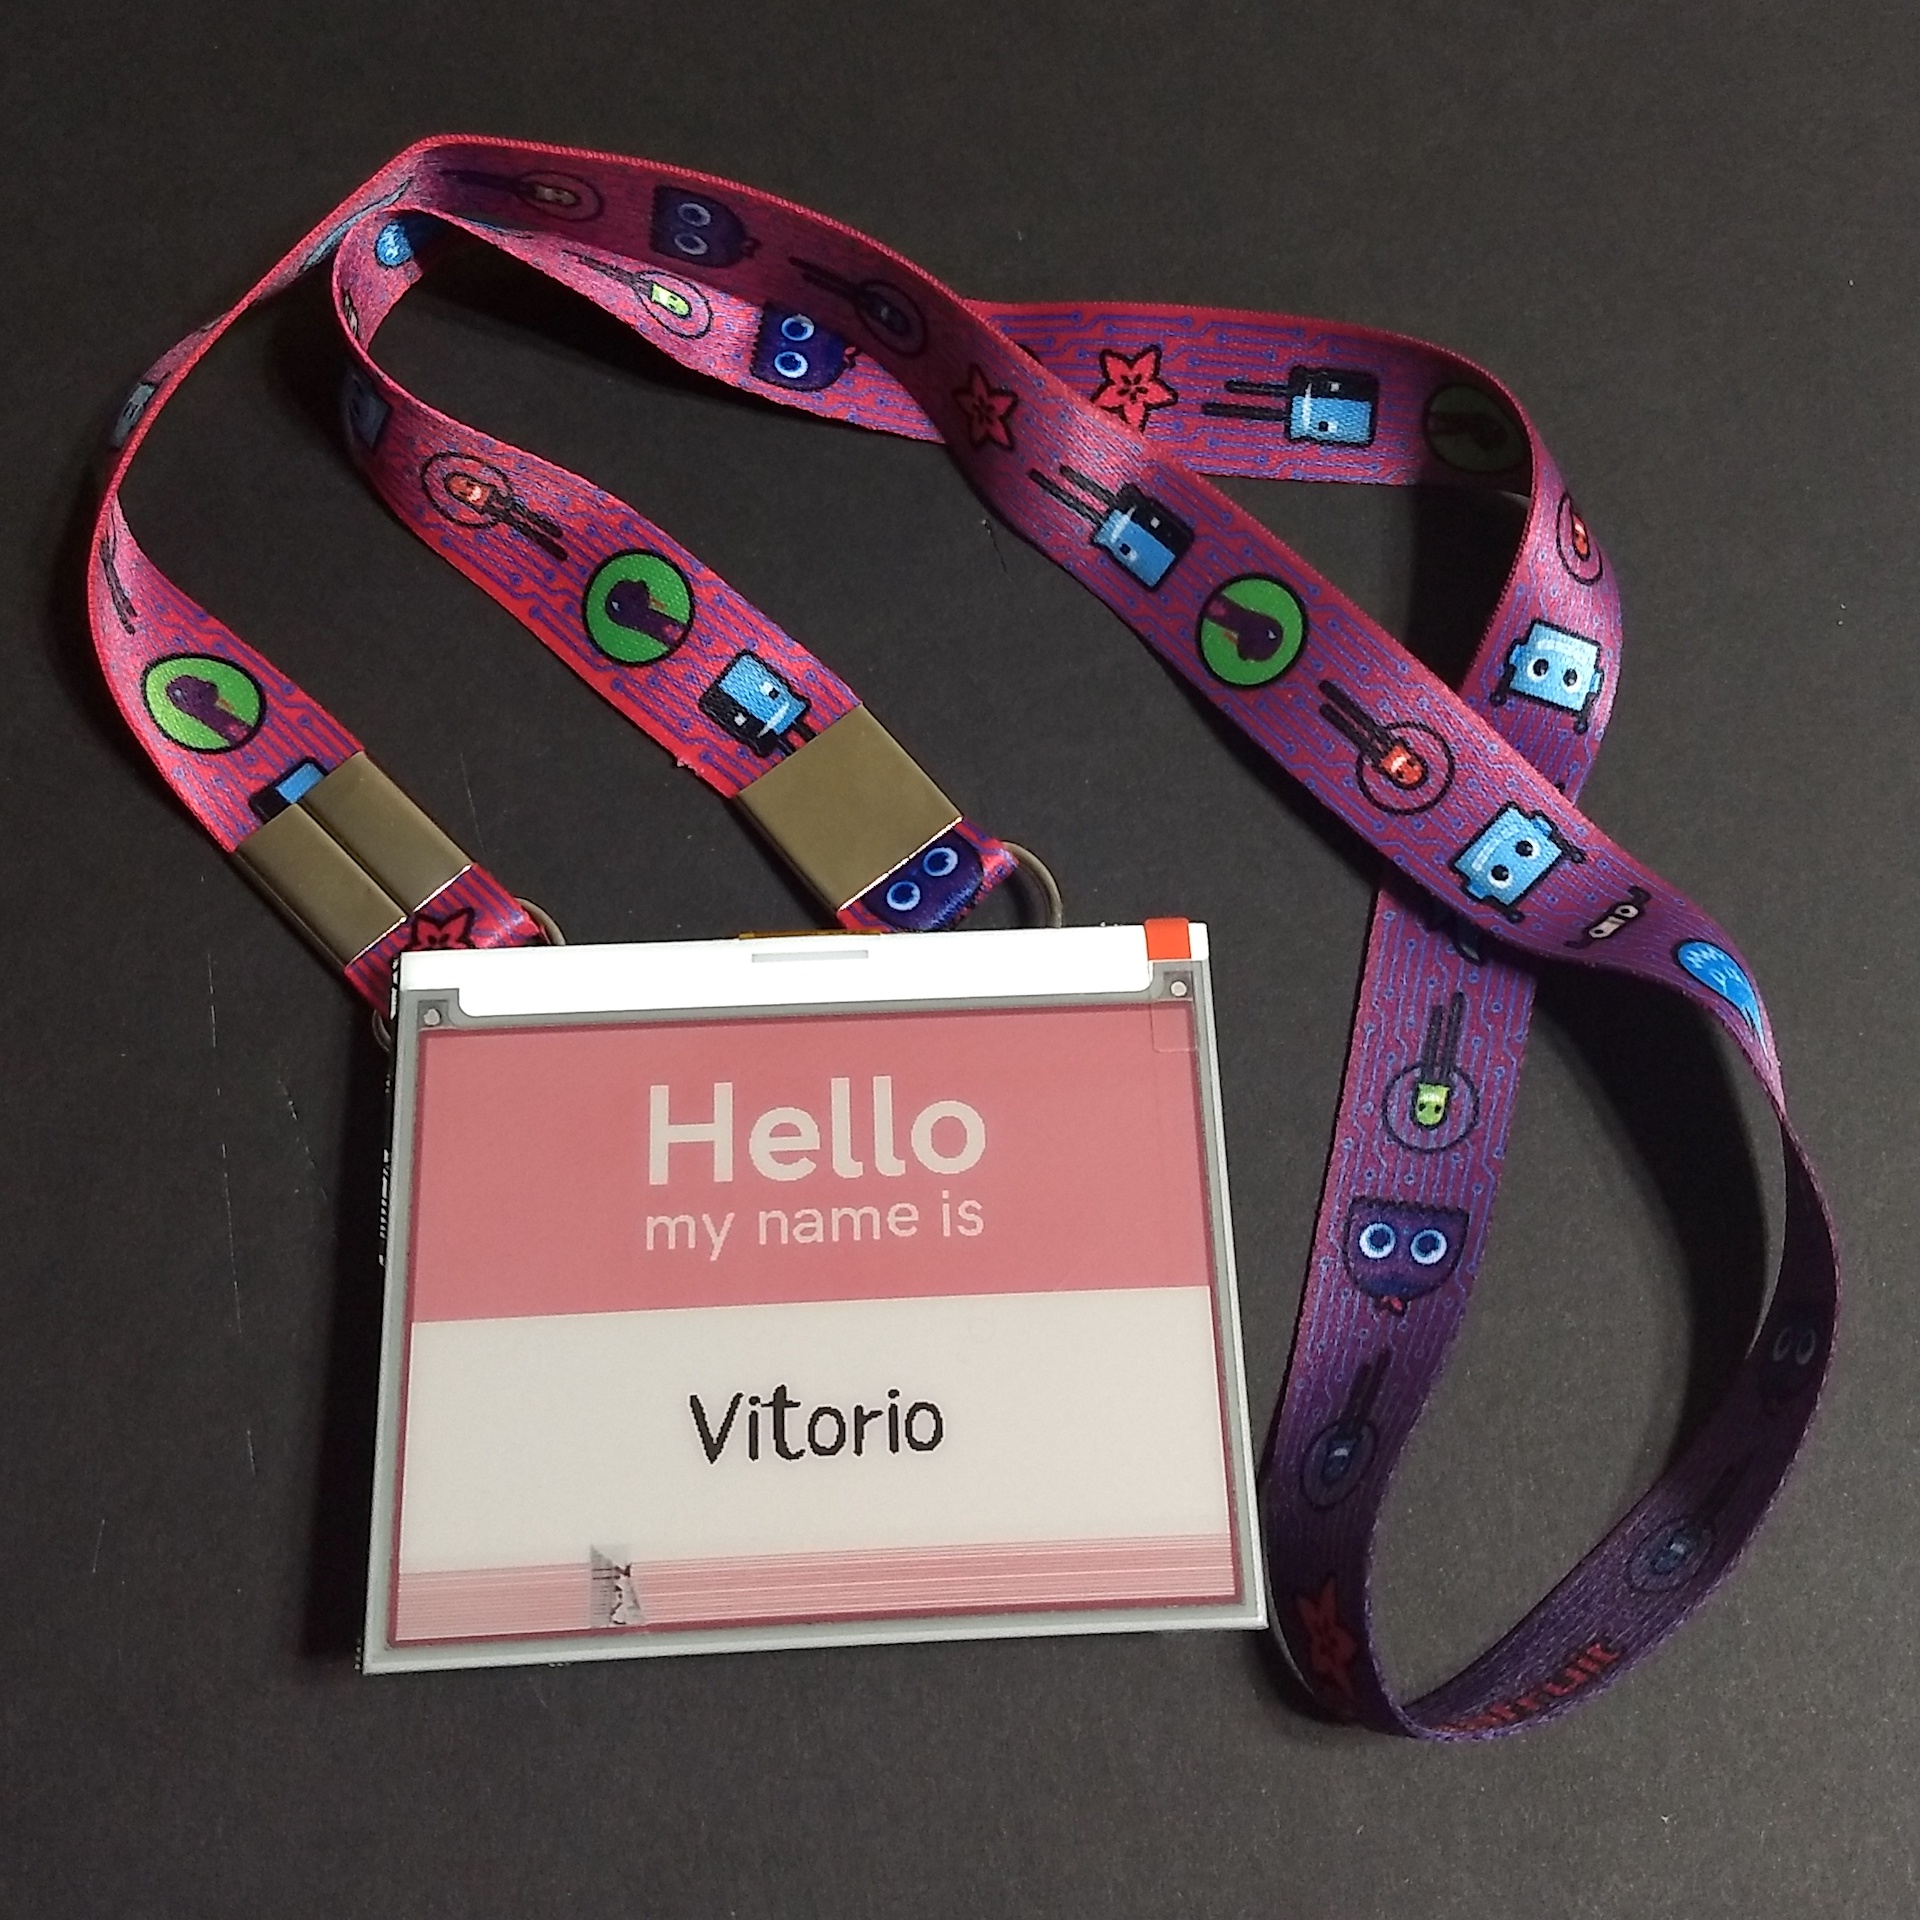
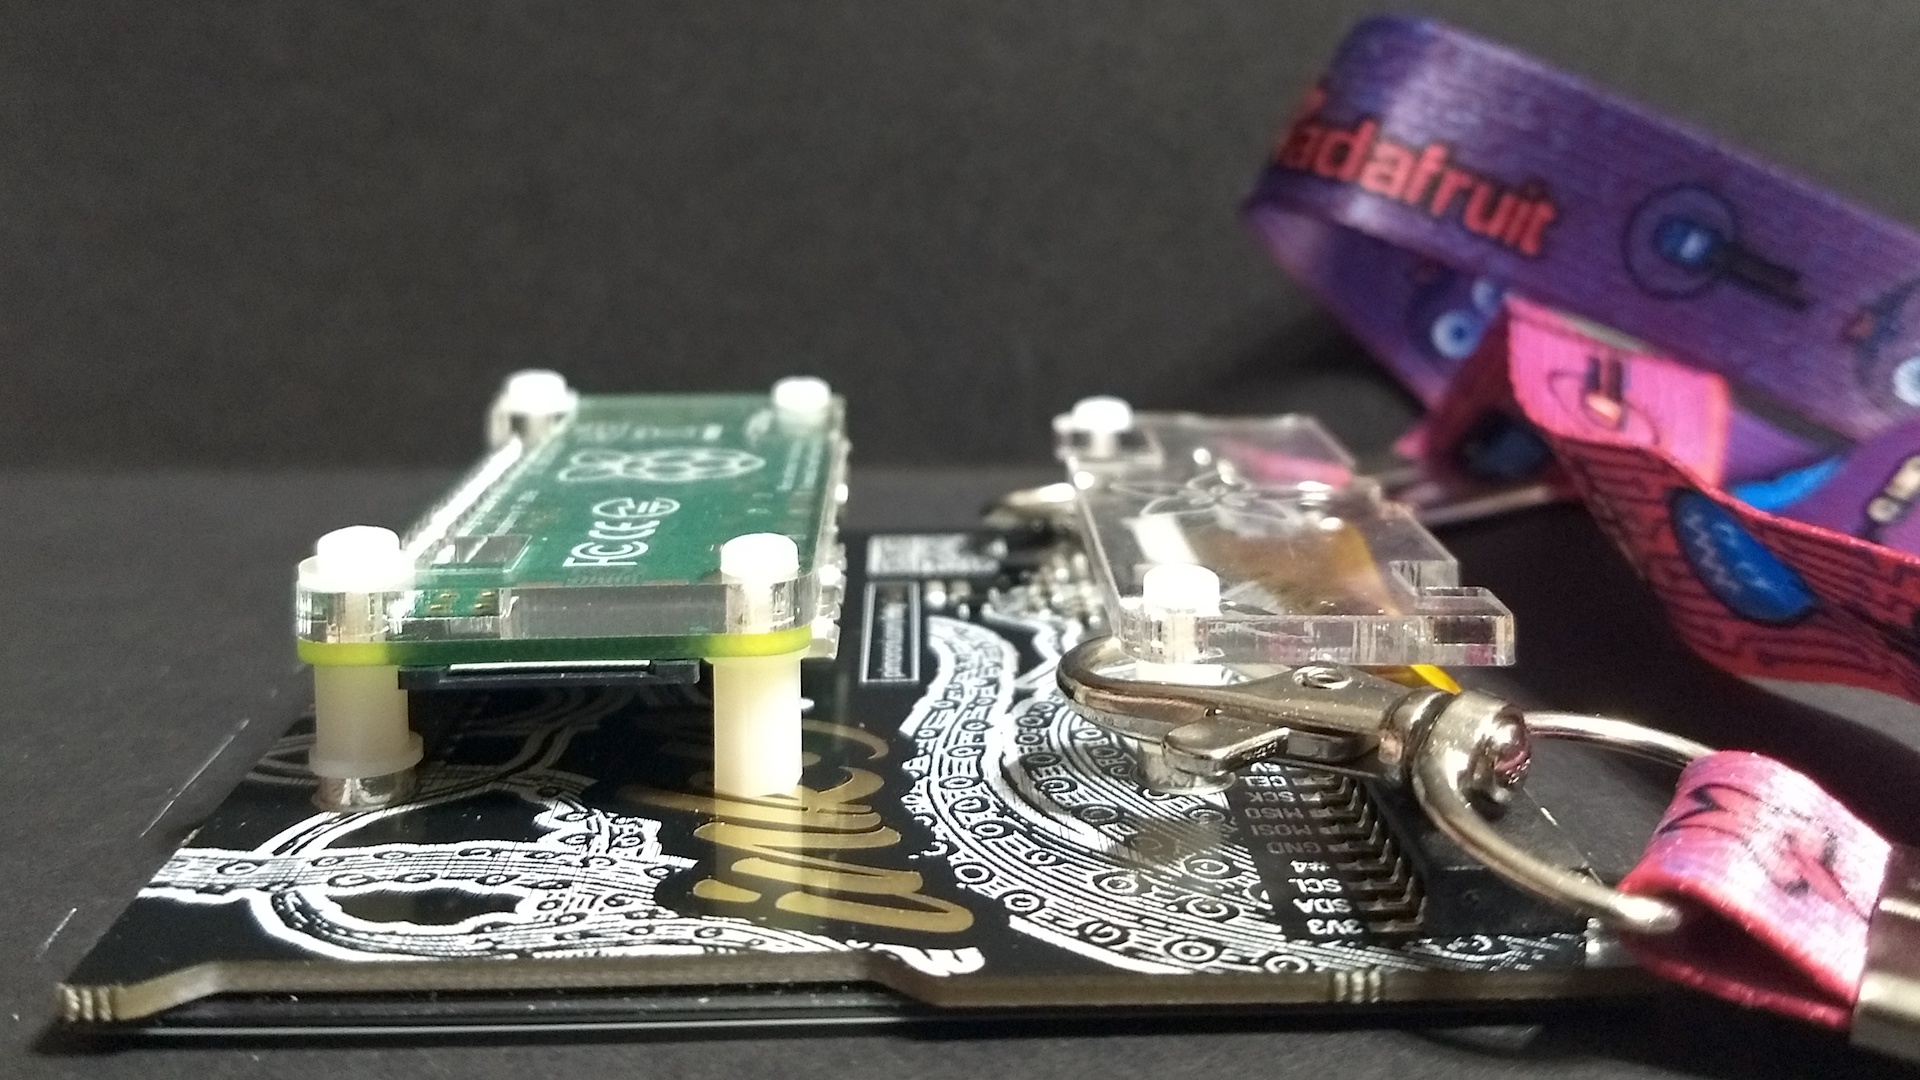
Pimoroni Inky wHAT with a Raspberry Pi Zero W as an e-paper name tag
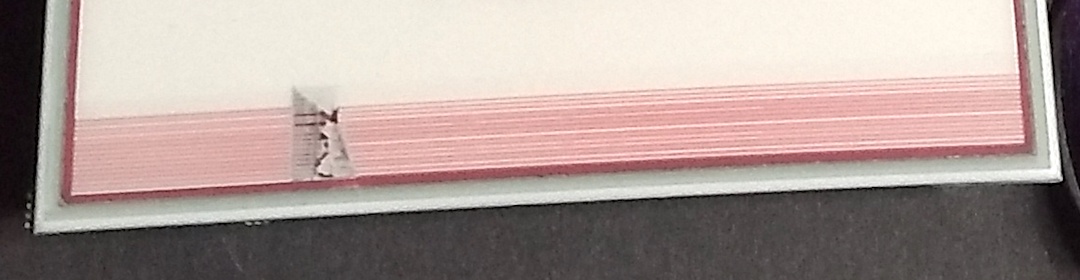
The formfactor is great, but something's up with either the new the LUTs, inky library,or the panel itself. You can stick a Raspberry Pi Zero W on the back of a Pimoroni Inky wHAT to make an easy, commercial off-the-shelf, e-paper name tag, but as of March 2019 the red color doesn't look as good as the Waveshare display I use in e-paper.name/tag, and it fades fast. Update May 31, 2019: I've tested a software fix which seems to resolve this, but it's not readily available yet. I'll update again when it's available for everyone.
Shopping list
If you're going to try it anyway, you can order everything you need from Adafruit:
- Pimoroni Inky wHAT (ePaper/eInk/EPD) - Red/Black/White
- Raspberry Pi Zero WH (Zero W with Headers)
- Adafruit Pi Protector for Raspberry Pi Model Zero
- Adafruit Circuit Playground Lanyard
- White Nylon Screw and Stand-off Set – M2.5 Thread
(You don't need an entire box of M2.5 screws and standoffs for this project, just a few, but I didn't have any at all, so.)
As with my original e-paper.name/tag, there's no soldering or programming required. If you've ever set up a Raspberry Pi before, you know the drill.
Assembly
First, pay real close attention to what you're doing, and don't screw anything in deeper than the PCB. If you push into the e-paper display panel, you'll crack it, and that'll break and glitch the display.
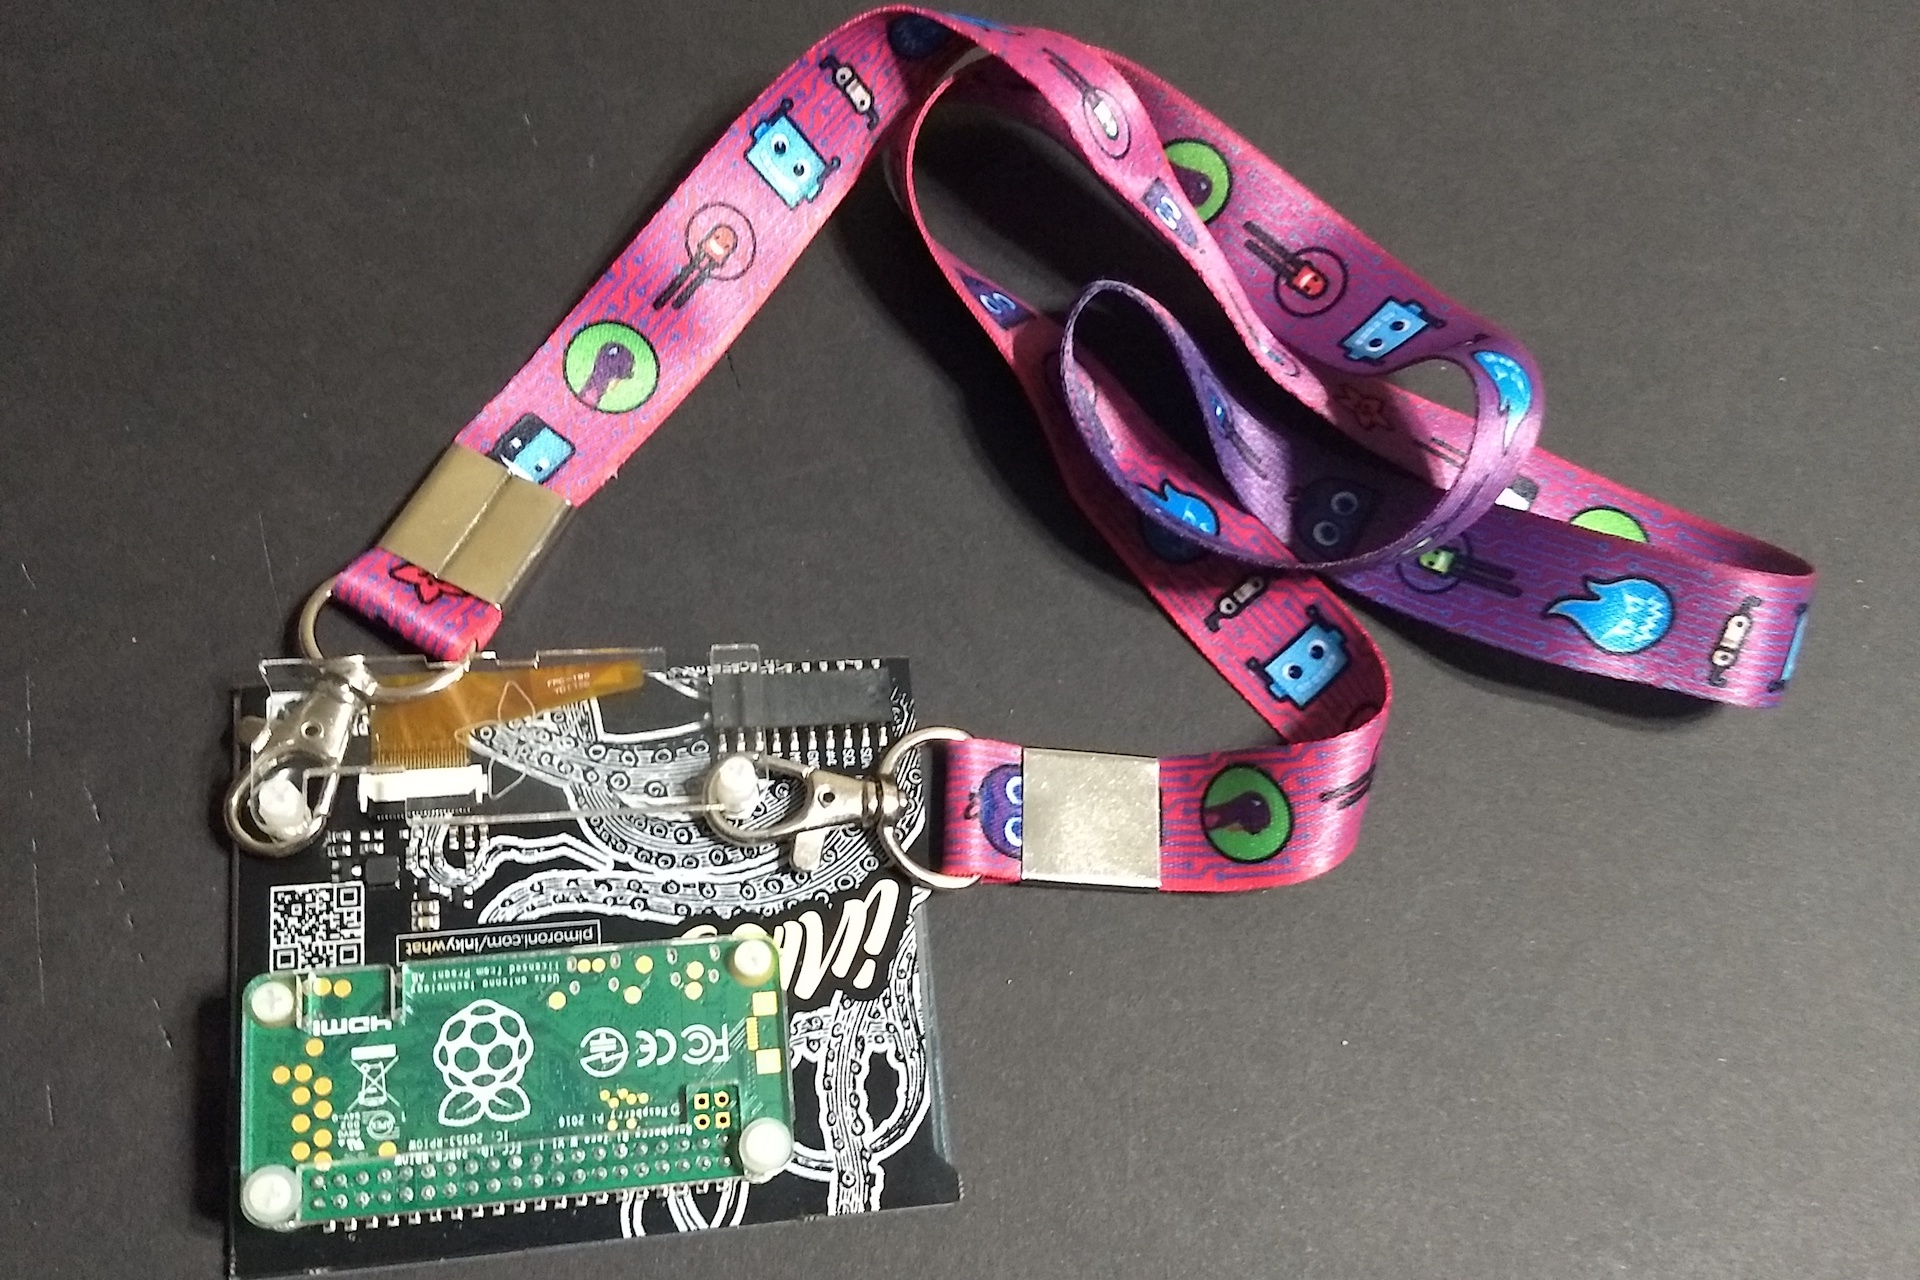
The Inky wHAT comes assembled, but not attached. Be careful removing it from its packaging so you don't twist the flexible printed circuit connecting the display to the PCB. There'll be two pieces of tape on the PCB. Take the backing off them and stick the display to the PCB. Try to line it up so the cable isn't twisted, and it's just flat curving over the PCB.
Press the Raspberry Pi Zero WH pins onto the PCB header.
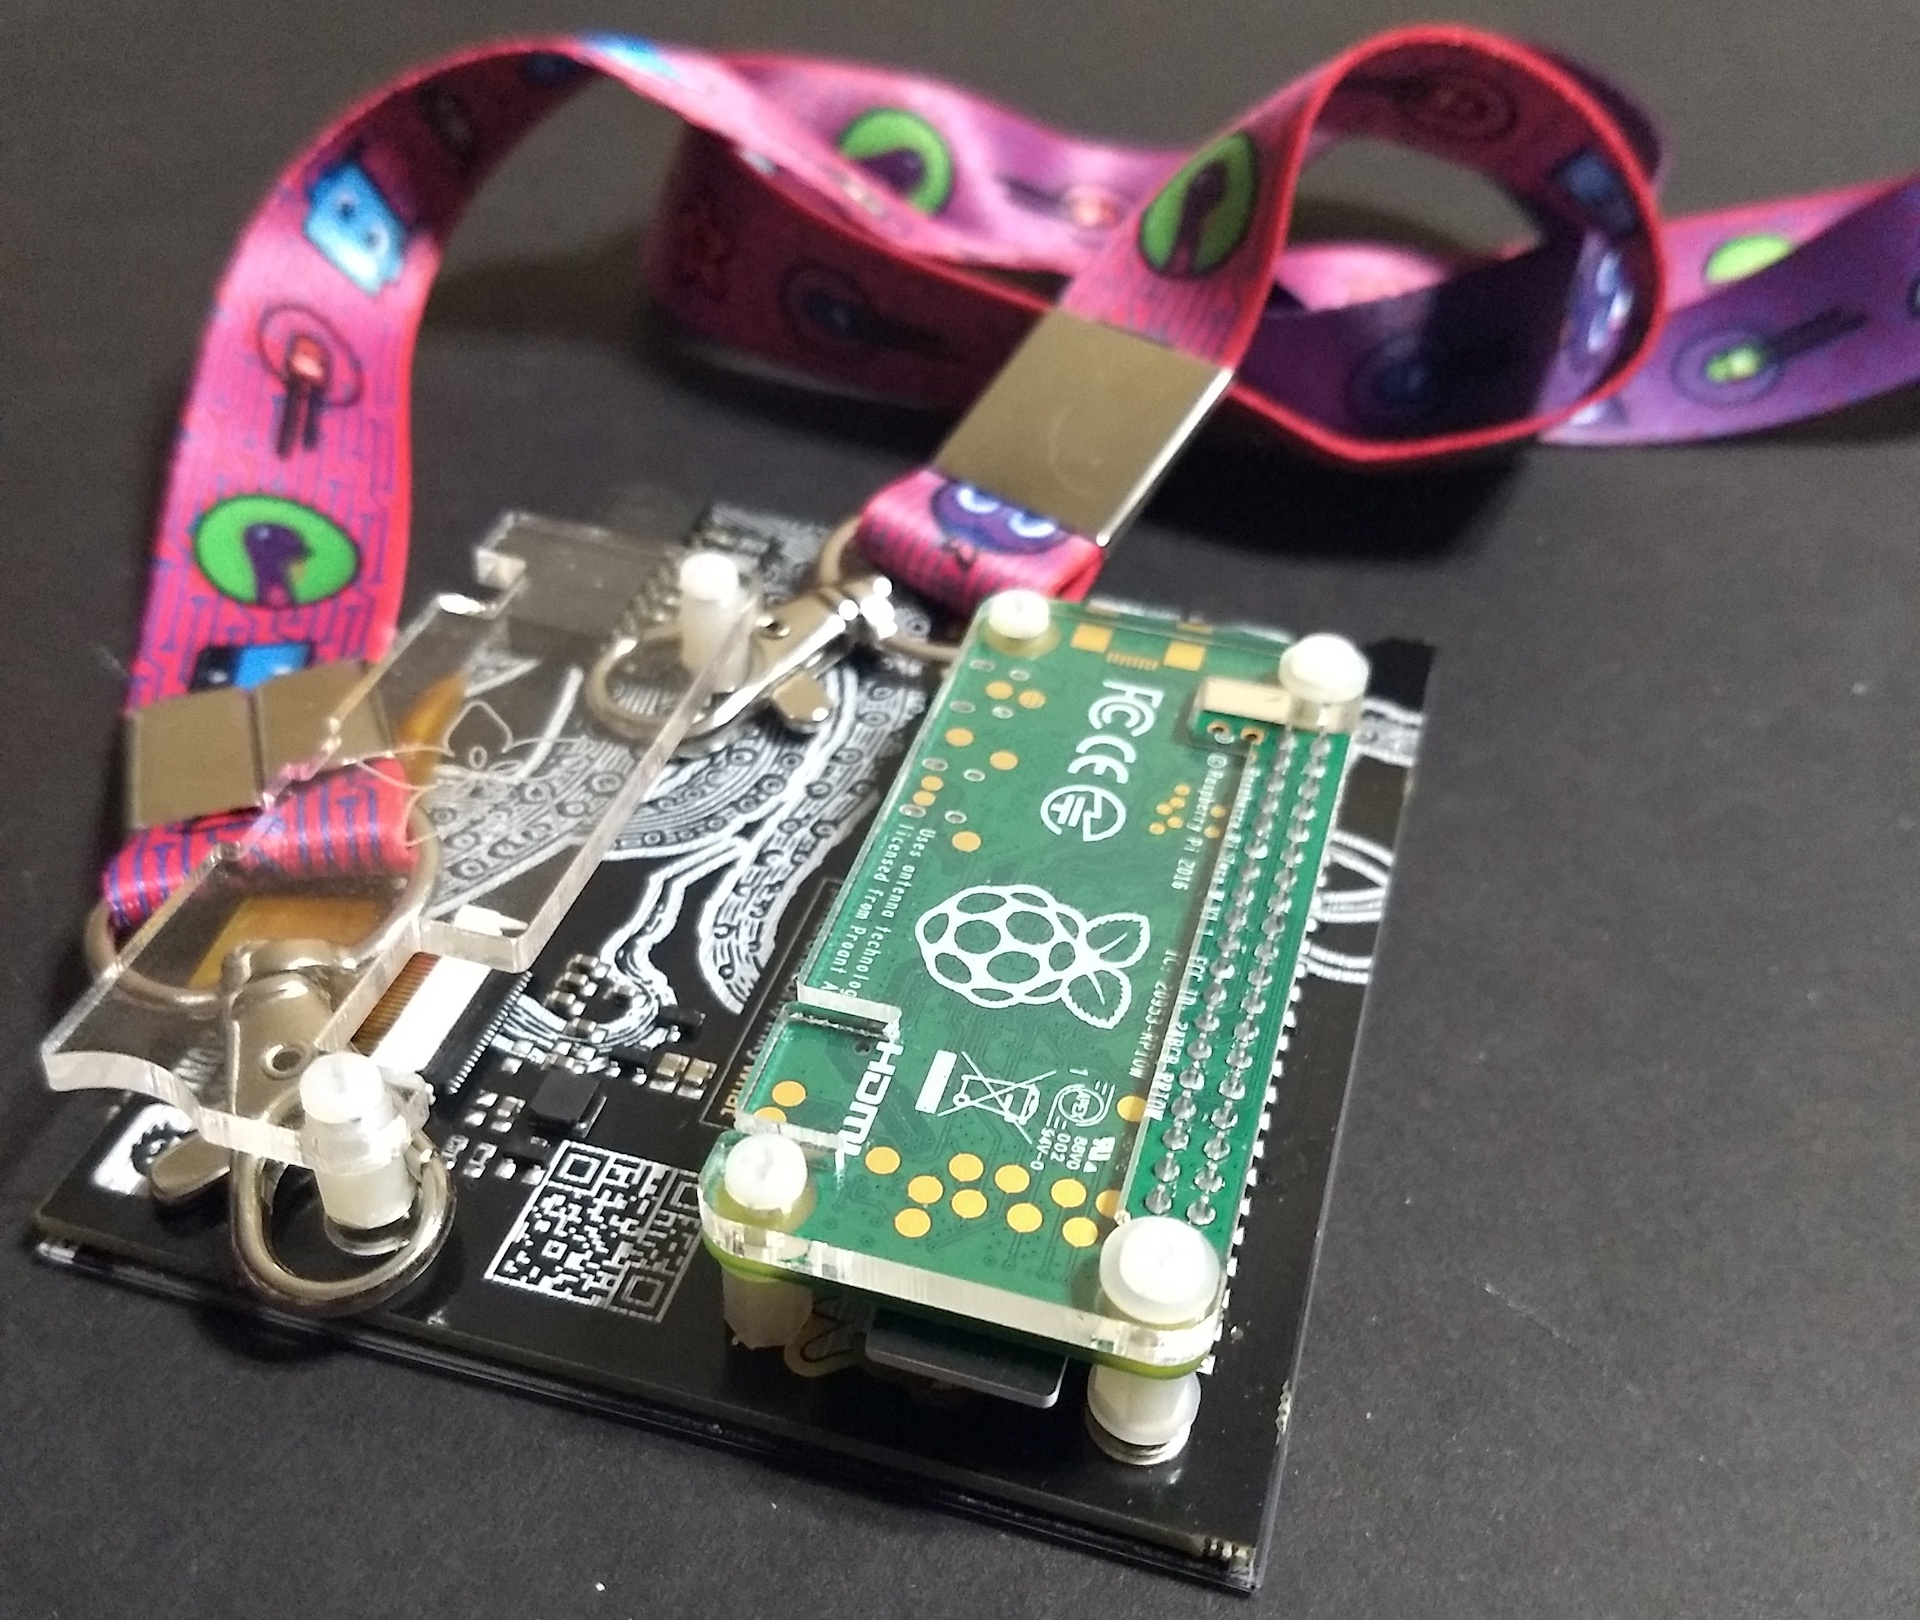
Put the bottom of the Pi Protector over the bottom of the RPi.
Pick out two sets of spacers and standoffs and screw the acrylic plate and RPi into the PCB. The threads on all the screws and standoffs are too long for the holes in the Inky wHAT, make sure to cut them down to a more appropriate size or you will screw into the e-paper display and crack it. (Scissors work fine, they're just vinyl.)
Pick out some more spacers and standoffs and screw them into the other two holes on the Raspberry Pi, just so there's no risk of applying too much pressure on the connecting header.
Pick out some more spacers and standoffs and screw them into the holes on the other size of the PCB (the holes are meant for a full-size Raspberry Pi). Clip the lanyard to them, then screw the top half of the Pi Protector over them.
That's it, you're done.
Software
Download the latest image of Raspbian Lite, and use Etcher to flash it to an SD card. Enable SSH and wifi from the SD card, because there isn't any room to plug an HDMI adapter in (I guess you could have set all this up beforehand, but ¯\_(ツ)_/¯).
Log into the Pi over SSH, run sudo raspi-config and set your hostname, locales, timezone, enable SPI, enable I2C, and reboot.
Log back into the Pi over SSH, run sudo apt-get update and sudo apt-get upgrade and reboot again.
Log back into the Pi over SSH and follow the directions on Getting Started with Inky wHAT. They include a generated name badge, you don't need anything else.
There's one change you do have to make before you can wear it, though. The way this badge is oriented, now, is upside down from what Pimoroni expected.
Edit name-badge.py and change the second-to-last line from inky_display.set_image(img) to inky_display.set_image(img.rotate(180)). That'll make it draw the image right-side-up for us.
Future work
If you want to get closer to the ease of use of e-paper.name/tag, there's a couple quick wins.
- Make the Raspberry Pi its own access point. Then you'd give it power, and connect to it over SSH to re-run the Pimoroni name badge command, and you're done.
- Make the Raspberry Pi read-only. Then you can apply and pull power without worrying about having to shut it down properly first.
But, uh, you might want to wait until the red issue gets sorted out. This thread on the Pimoroni forums suggests it's not an isolated issue. Update May 31, 2019: I've tested a software fix which seems to resolve this, but it's not readily available yet. I'll update again when it's available for everyone.
I'm Vitorio, it's March 23, 2019, thanks for your time.
Updated May 31, 2019 to note the upcoming software fix for the red color issues.