Notes on overlaying web content on HDMI video with the NeTV 1
The NeTV2 is shipping, so here are my notes on working with the original NeTV, of which Adafruit still has 44 7 as of January 2017 March 2019 (and possibly units available direct from Bunnie), in case you want to play with an even more obscure (but cheaper) development kit that could overlay your opaque, web-based text or graphical content onto any 720p or 1080i HDMI video feed.
(The NeTV2 is Raspberry Pi- and PCIe-based, and can handle 1080p60, and should be your first choice for new work.)
NeTV basics
The original NeTV is a development kit (some assembly required) about the size of a pack of playing cards, which takes an HDMI video input (a source), a wifi connection, and an HDMI video output (a sink), and overlays local or remote, opaque, web content onto the input, and provides it over the output. (For full technical specs, see the Adafruit listing, this is about using it.)
The HDMI source (input) must have reliable 720p or 1080i output. PCs and Macs can change resolutions as they autodetect capabilities; this may crash the NeTV.
The wifi connection supports 2.4GHz b/g/n only. It is an AW-NU137 module (Atheros AR9271 chipset) connected via an internal USB port, with a very tiny antenna. It is also reported to be unreliable, and this matches my experience.
The HDMI sink (output) must be a genuine HDMI device; an HDMI-to-DVI or HDMI-to-VGA dongle won't work. HDMI converters which generate HDMI signaling may work; this ViewHD brand HDMI audio extractor before an HDMI-to-DVI cable works; this Belkin HDMI-to-VGA equivalent doesn't.
The NeTV has a low-end ARM CPU and can run ARM Linux applications to interface with or generate local web content. It's recommended to display content which is generated or hosted elsewhere.
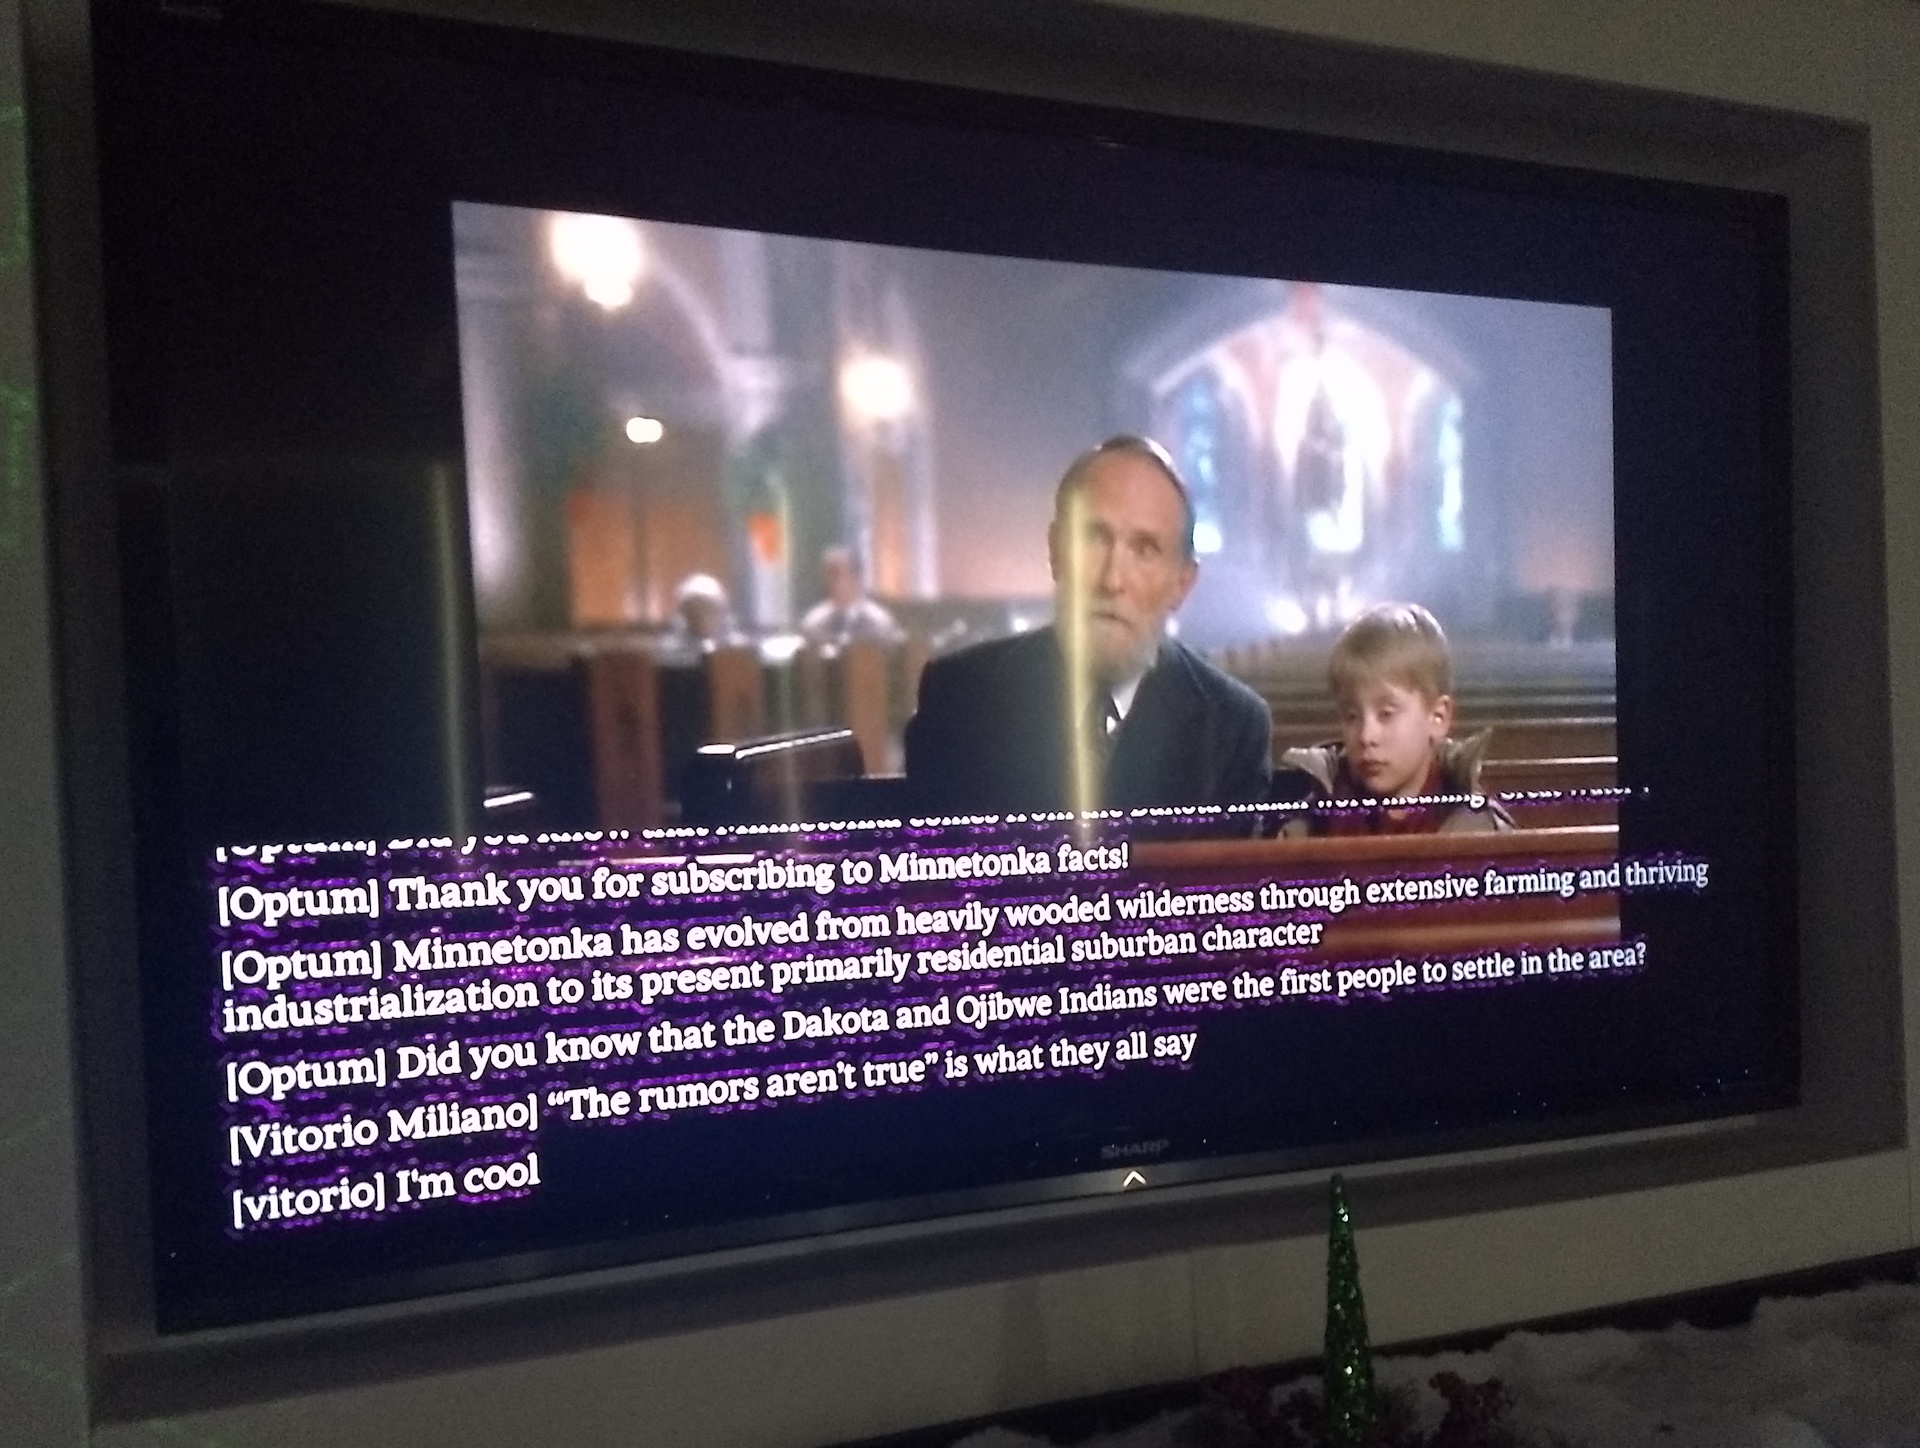
The NeTV can't "see" or read any of the pixels from the HDMI source. It can only replace pixels. All web content must be opaque. Translucent or alpha-blended content, like anti-aliased fonts on a transparent background, will appear as as if blended onto a magenta background, and show magenta artifacts.
Web content is rendered using an embedded WebKit build 533, equivalent to Chrome 5. Stock, modern web sites may not run as expected due to unsupported SSL versions, memory constraints, features behind vendor prefixes, and issues with parsing compressed or minified content.
Setting up the NeTV
The NeTV ships with outdated firmware. Download the latest firmware (despite instructions elsewhere, when uncompressed it's only 528.8MB). Flash the NeTV's SD card with it. Here's the console output from OS X following Ubuntu's documentation, but your favorite method (like Etcher) will probably be fine:
$ diskutil list
/dev/disk0 (internal, physical):
   #:                       TYPE NAME                    SIZE       IDENTIFIER
   0:      GUID_partition_scheme                        *240.1 GB   disk0
   1:                        EFI EFI                     209.7 MB   disk0s1
   2:          Apple_CoreStorage Macintosh HD            239.2 GB   disk0s2
   3:                 Apple_Boot Recovery HD             650.0 MB   disk0s3
/dev/disk1 (internal, virtual):
   #:                       TYPE NAME                    SIZE       IDENTIFIER
   0:                  Apple_HFS Macintosh HD           +238.9 GB   disk1
                                 Logical Volume on disk0s2
                                 D3BE823A-19AD-4182-89B9-DCC3E1EF5E4F
                                 Unlocked Encrypted
/dev/disk2 (internal, physical):
   #:                       TYPE NAME                    SIZE       IDENTIFIER
   0:     FDisk_partition_scheme                        *4.0 GB     disk2
   1:                 DOS_FAT_32 NO NAME                 4.0 GB     disk2s1
$ diskutil unmountDisk /dev/disk2
Unmount of all volumes on disk2 was successful
$ sudo dd if=Downloads/rom-chumby-silvermoon-netv-chumby-image-r43.img of=/dev/rdisk2 bs=1m
Password:
504+1 records in
504+1 records out
528779264 bytes transferred in 84.904986 secs (6227894 bytes/sec)
$ diskutil eject /dev/disk2
Disk /dev/disk2 ejected
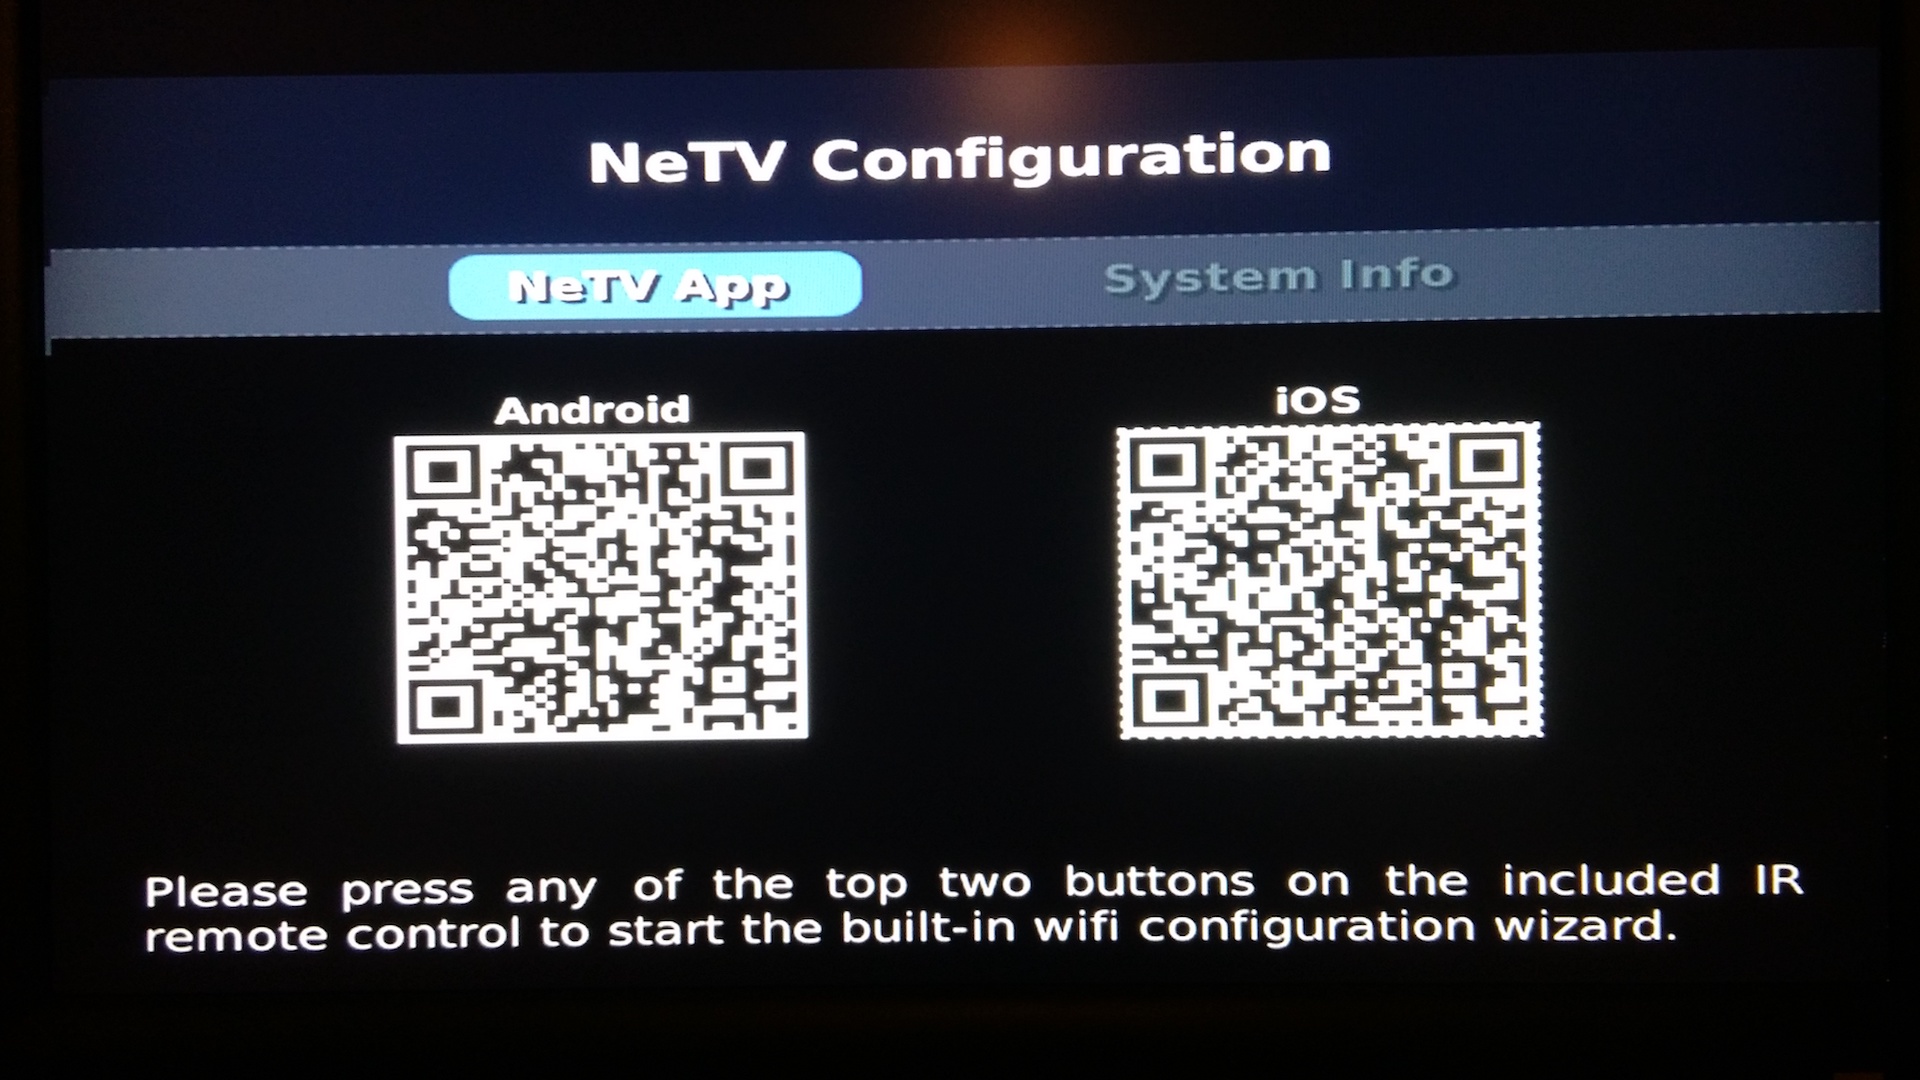
Using the IR remote to configure the NeTV is tedious, but the Android app pointed to by the on-screen QR code is no longer available on the Play Store. If you can sideload apps onto your Android phone, the APK is here.
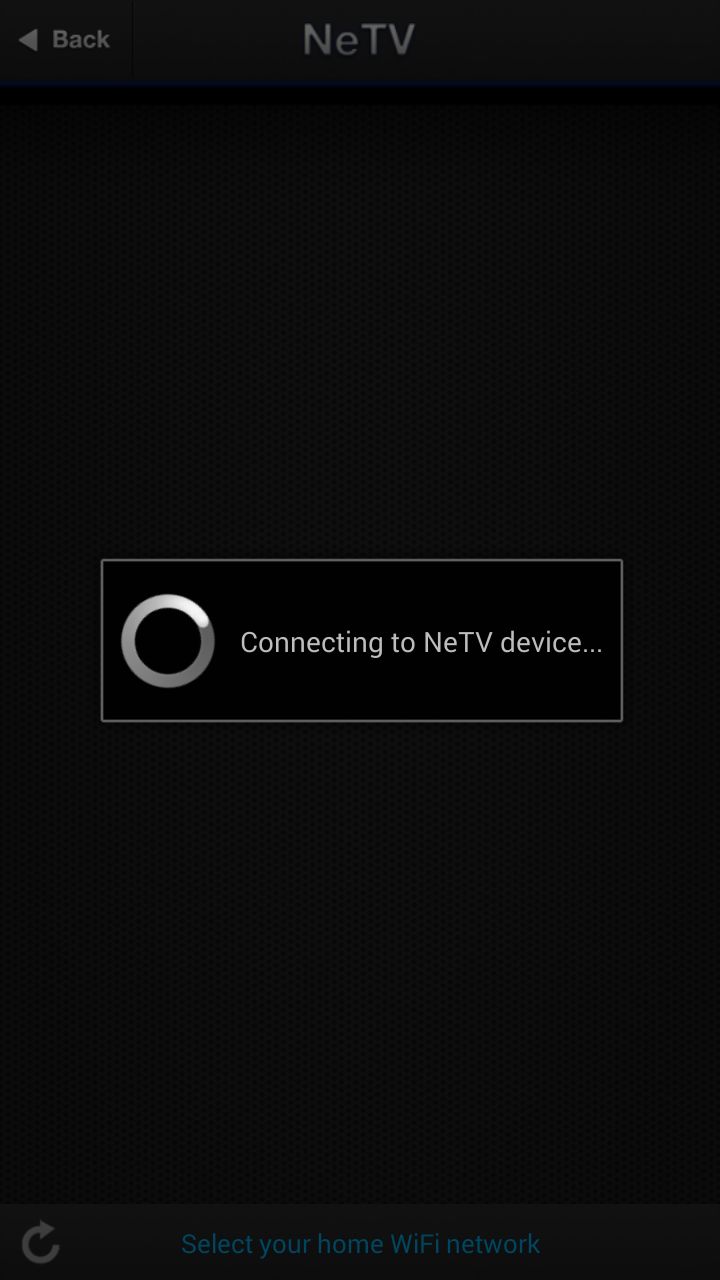
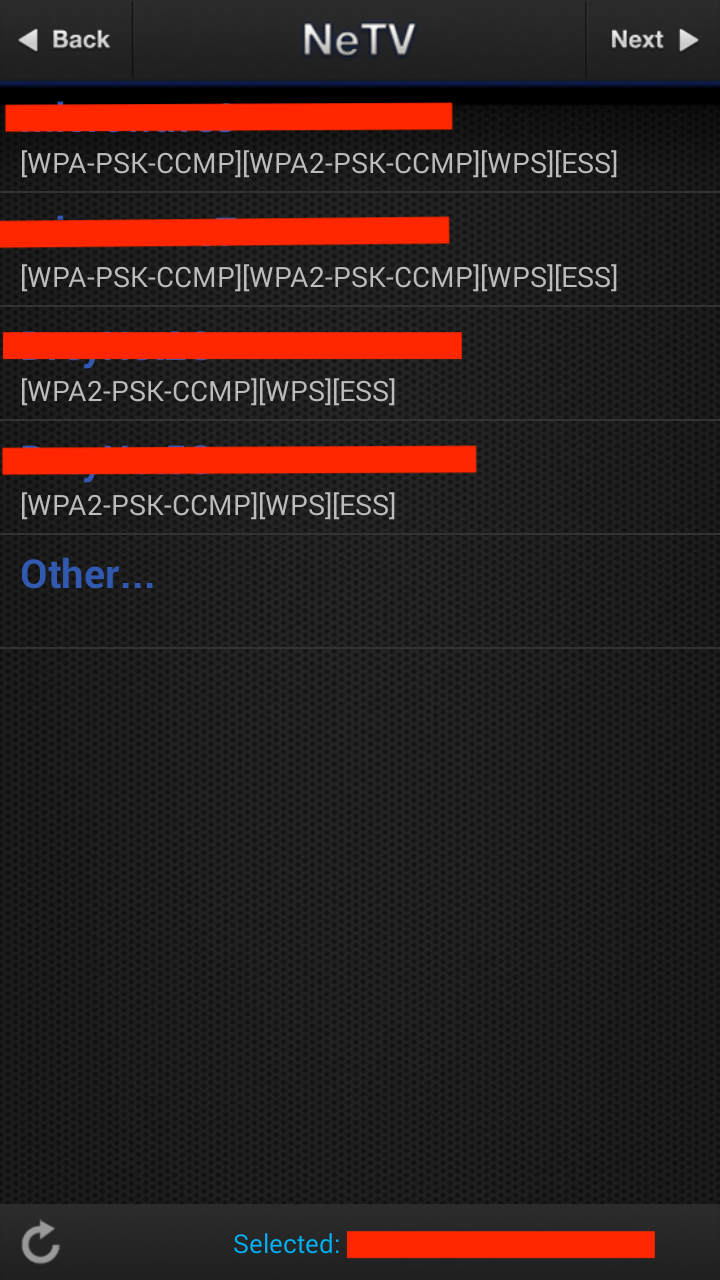
The Android app will automatically connect to the NeTV's self-named access point to configure it. The app will show you all wifi access points your phone can see, and the TV will echo this. However, only 2.4GHz wifi is supported. (If you're using the IR remote to set up wifi, the NeTV's own scan will only show 2.4GHz access points.)
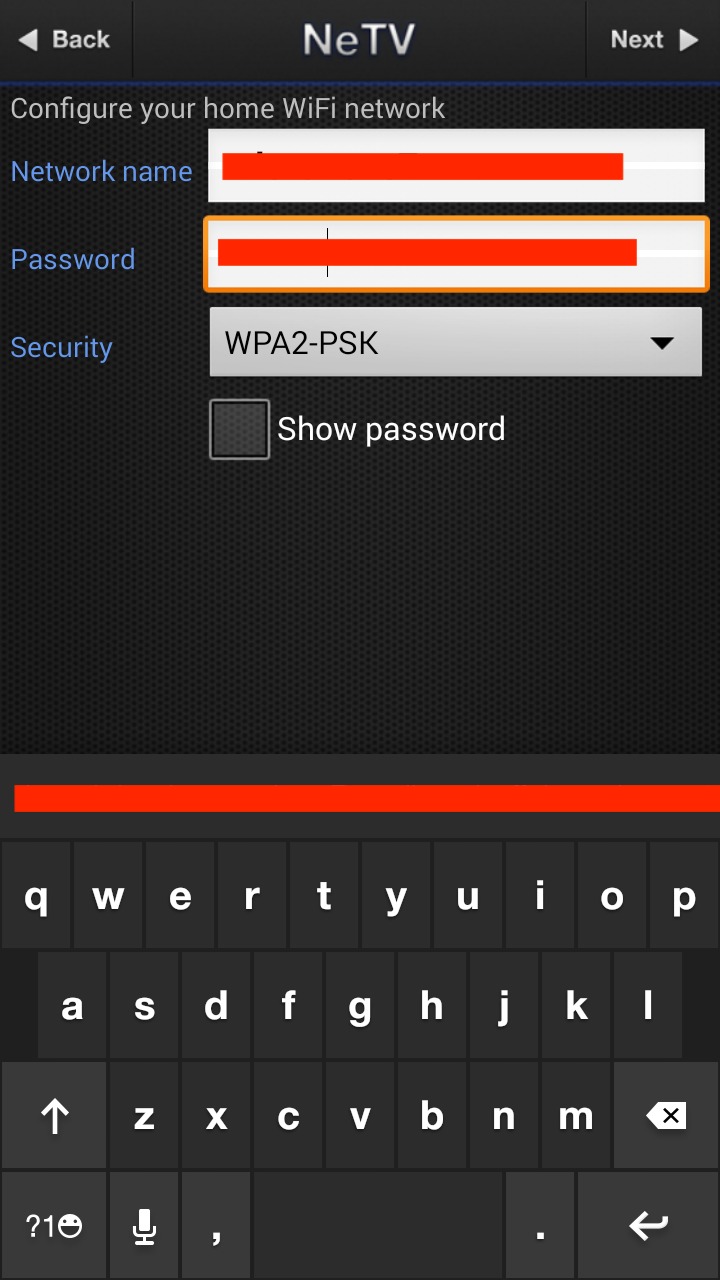
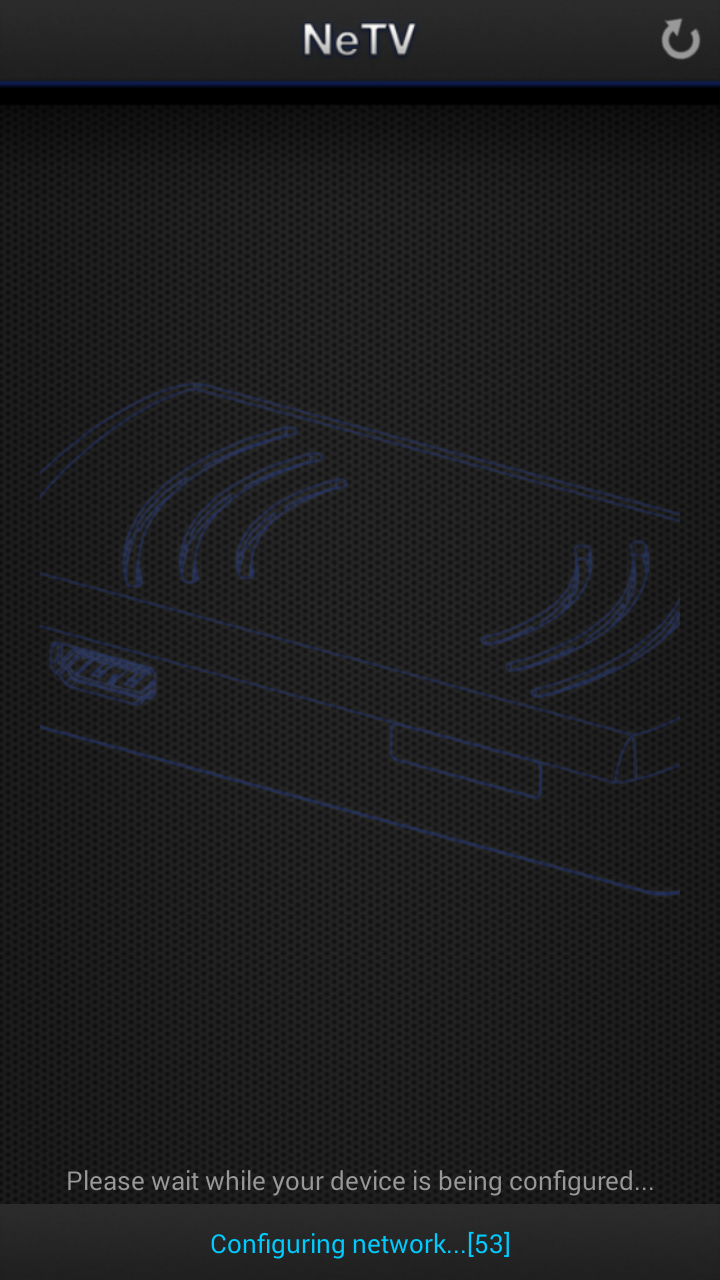
When the app asks you to authenticate to a Chumby account, choose "Not Now," as this is no longer supported. A chime will sound in the app once configuration is complete.
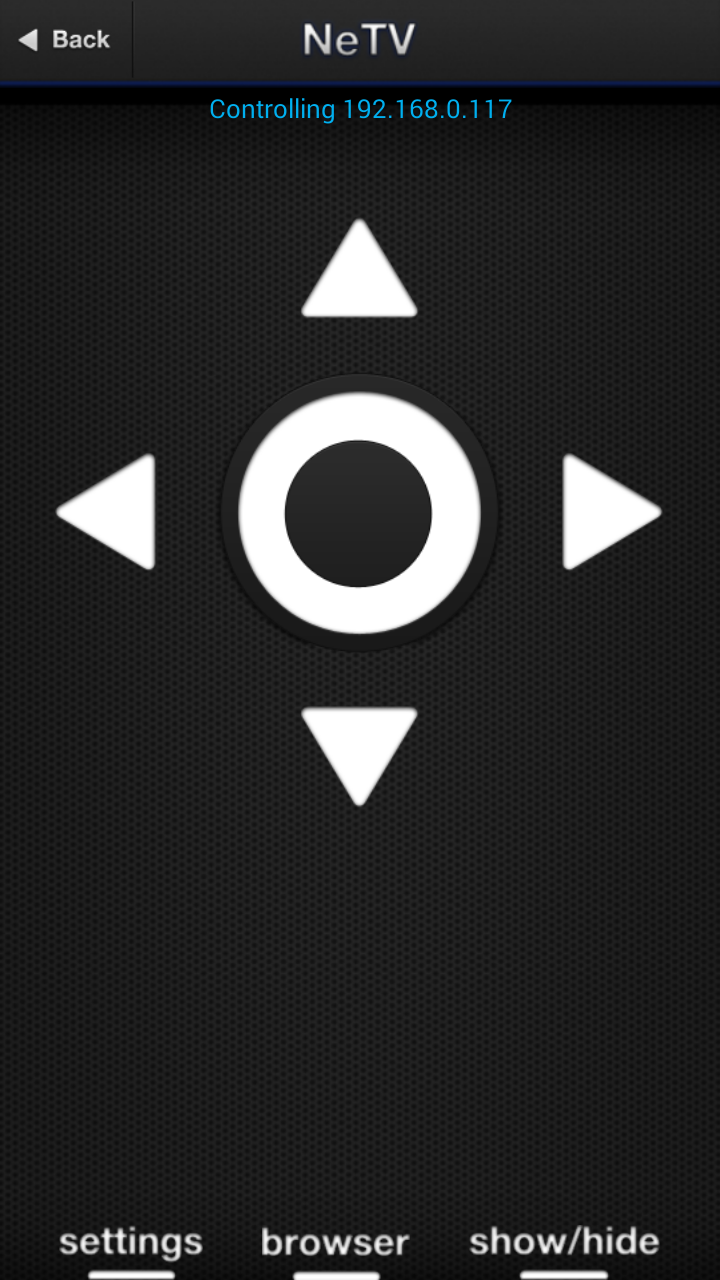
Once the NeTV is configured, you can use the Android app like a virtual remote, navigating with the four arrows and the center (enter) button to bring up the settings screen, a browser, or showing/hiding the on-screen display. (The Android app will also offer to cast photos from your phone to the NeTV, but I couldn't get this to work.)
None of the built-in widgets (ESPN, NYT, etc.) in the provided firmware are configurable through the UI, and I couldn't figure out how to even make them visible. (They appear to have been removed in latest firmware, so if you flashed immediately, you won't even see them.) The Twitter widget doesn't support their current APIs, so all it does is scroll a message about not being configured, along the bottom of the screen, every 15 seconds.
Using the stock NeTV
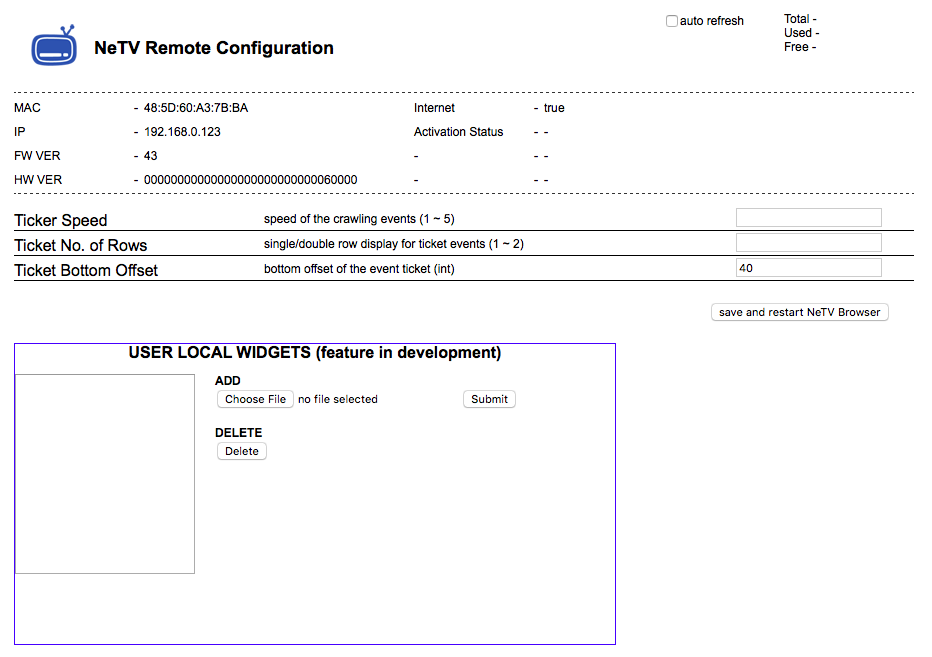
If you point a browser to the NeTV's IP address (we'll refer to it as netv.example for the rest of this document), it will redirect you to a static web page with some configuration details: http://netv.example/html_remoteconfig/.
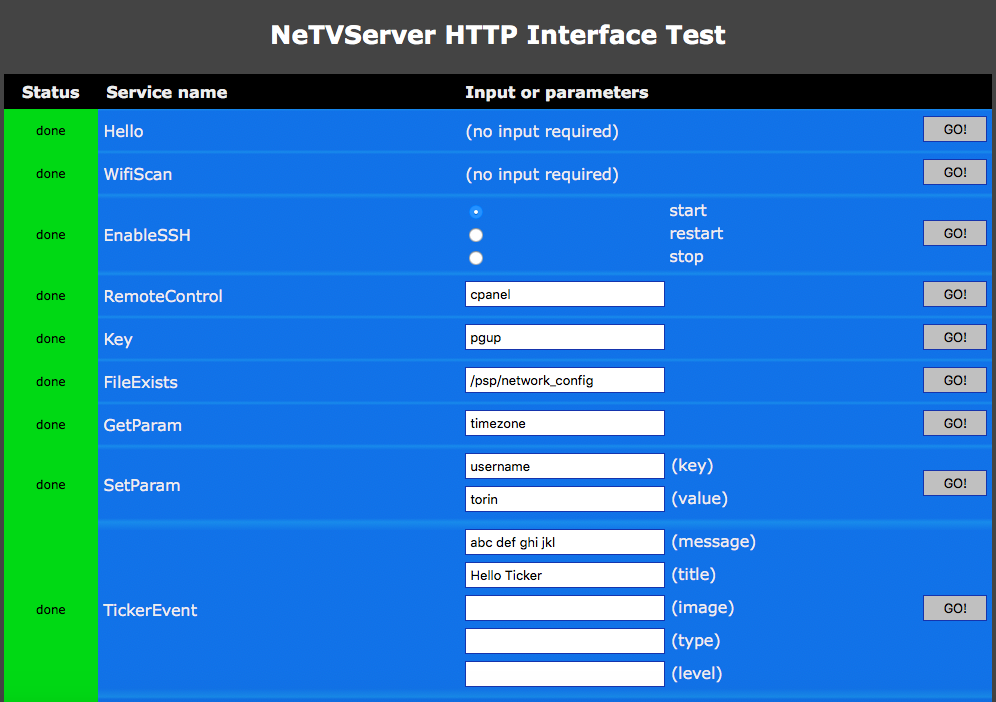
Per the NeTV web services documentation, you can post your own messages to the ticker by visiting http://netv.example/html_test/ and editing the "TickerEvent" "(message)" and "(title)" options, and optionally setting "type" to "sms" to see it in a larger, yellow font.
This is also possible via your browser URL bar:
http://netv.example/bridge?cmd=tickerevent&message=you%20should%20see%20this%20crawling%20across%20the%20screen&title=Hello%20World
or the command line:
curl -d "cmd=tickerevent&message=This+is+a+test+message&title=Sent+via+curl" http://netv.example/bridge
To show your own web-based content, visit http://netv.example/html_test/ again and change "SetUrl" to the URL of your content.

The NeTV's keepalive timer will restore the stock UI unless your content includes a keepalive JavaScript function:
<script>
    //NeTV
    function fCheckAlive() { return true; };
</script>
You will almost certainly have to host your own custom content over HTTP, as the embedded WebKit browser is build 533, equivalent to Chrome 5, from May 2010. Stock, modern web sites may not run as expected due to unsupported SSL versions, memory constraints, features behind vendor prefixes, and issues with parsing compressed or minified content.
SSH
To use the NeTV productively, you probably want to enable SSH (and make a note to disable it before using your device in production). The on-screen settings have an option to temporarily enable it. Once enabled, you can have it persist across reboots by SSHing in, and touching a file, per the NeTV tricks documentation:
$ ssh root@netv.example
root@localhost:~# touch /psp/start_sshd
root@localhost:~#
Remove the file to disable it:
root@localhost:~# rm /psp/start_sshd
There's no password for the root account.
More easily connecting on a Mac/iOS
The NeTV advertises a Bonjour/Zeroconf hostname of chumby-silvermoon-netv, although networking issues may mean it conflicts (with itself) and instead starts up as chumby-silvermoon-netv-2, chumby-silvermoon-netv-3, etc. If you're on a Mac or iOS, connecting to ssh root@chumby-silvermoon-netv.local (or -2, etc.) may work.
Tethered development
If you don't need external network access for your NeTV during development, you can ignore the wifi setup entirely, and plug the NeTV micro-USB power jack into your computer. Per the Kosagi wiki, if your system supports USB ethernet gadgets, the NeTV will register as an ethernet connection with the IP 10.0.88.1, and give your computer the IP of 10.0.88.4.
$ ssh root@10.0.88.1
root@chumby-silvermoon-netv:~#
While tethered, you can then visit http://10.0.88.1/html_test/ again and change "SetUrl" to the URL (and port, and path) of your locally-hosted content, http://10.0.88.4/, etc.
Note that the netcat-based logging described on the wiki page doesn't show any of the JavaScript console output, which is necessary to debug browser issues.
Console logging
While the version of embedded WebKit on the NeTV theoretically supports remote debugging, it doesn't appear to be compiled in or otherwise available, so the only debugging support available is viewing the JavaScript console on the system console.
Log in over SSH, stop the running NeTVBrowser instance, and restart it manually, and you'll see the JavaScript console output in the terminal.
$ ssh root@netv.example
root@localhost:~# /etc/init.d/chumby-netvbrowser stop
root@localhost:~# NeTVBrowser -qws -nomouse
root@localhost:~#
Ctrl-C to kill the browser. To restart the regular one:
root@localhost:~# /etc/init.d/chumby-netvbrowser start
If you're tethered instead of using the local network, you don't have to stay logged in over SSH. You can pipe the NeTVBrowser output to the USB ethernet logging stream. Log in over SSH, restart NeTVBrowser to log to the stream, then you can log out and watch the stream directly.
$ ssh root@10.0.88.1
root@chumby-silvermoon-netv:~# /etc/init.d/chumby-netvbrowser stop
root@chumby-silvermoon-netv:~# NeTVBrowser -qws -nomouse 2>&1 | logger &
[2] 16132
root@chumby-silvermoon-netv:~# exit
$ nc -l -u 6368
<13>Mar  9 15:29:54 logger: NeTVBrowser: loading ControlPanel...90%
<13>Mar  9 15:29:55 logger: "*** cStartupModule, fEnvironmentalCheck(), InitialHello retrying......"
^C
$
Fonts
The only onboard, named font families that appear to work are:
- Bitstream Vera Serif
- Bitstream Vera Sans
- Bitstream Vera Sans Mono
- DejaVu Serif
- DejaVu Sans
- DejaVu Sans Mono
DejaVu is based on Vera, and will look the same, but has a wider range of characters. It's unclear to me what version of DejaVu is present.
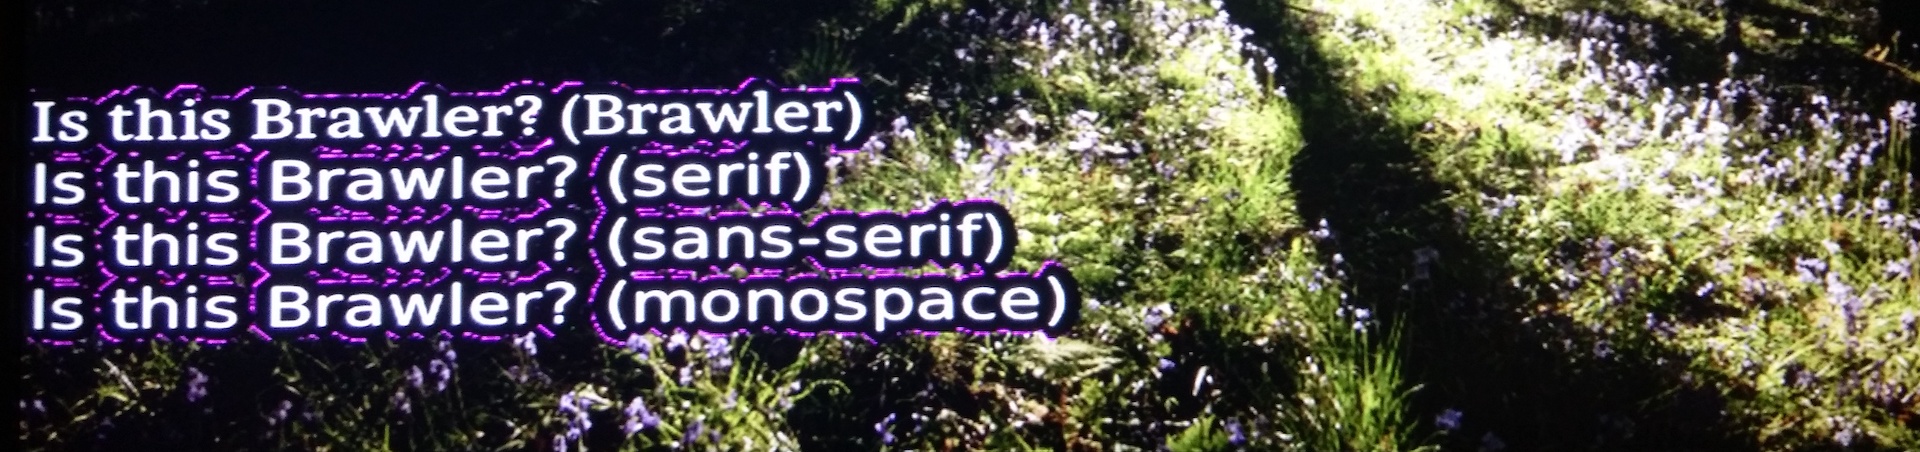
The generic "serif", "sans-serif" and "monospace" families don't work.
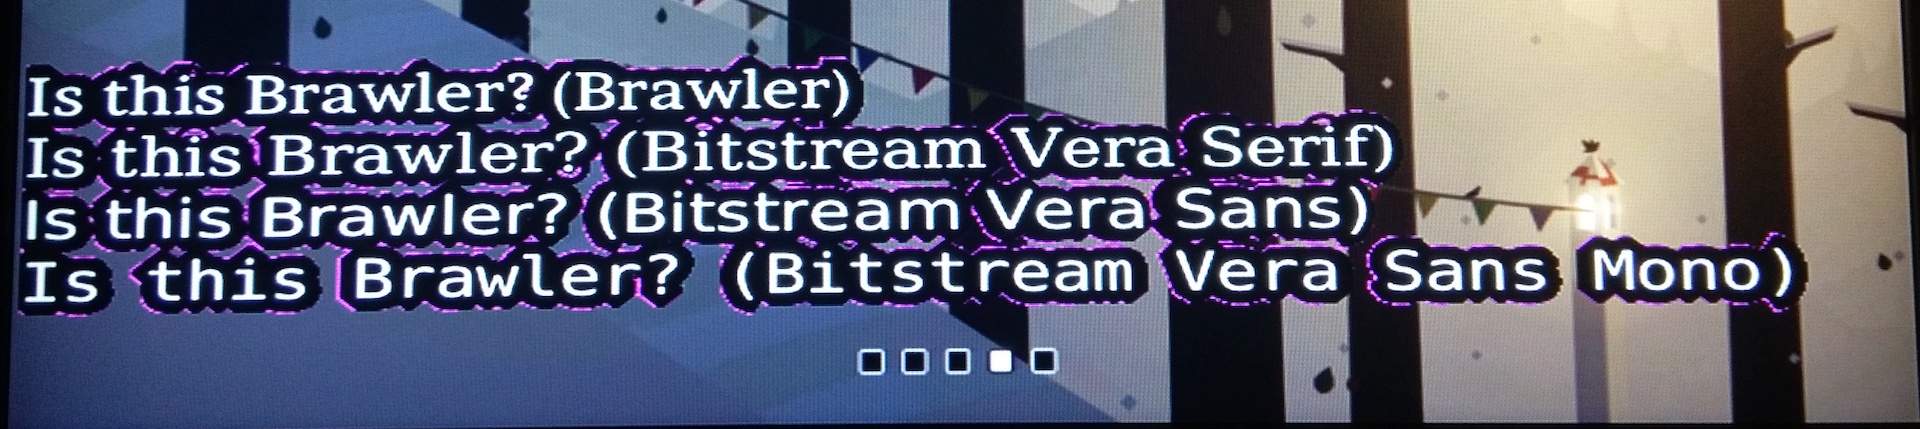
The Bitstream Vera fonts:
<span style="font-family: 'Bitstream Vera Serif'">Is this Brawler? (Bitstream Vera Serif)</span><br>
<span style="font-family: 'Bitstream Vera Sans'">Is this Brawler? (Bitstream Vera Sans)</span><br>
<span style="font-family: 'Bitstream Vera Sans Mono'">Is this Brawler? (Bitstream Vera Sans Mono)</span><br>
The DejaVu fonts:
<span style="font-family: 'DejaVu Serif'">Is this Brawler? (DejaVu Serif)</span><br>
<span style="font-family: 'DejaVu Sans'">Is this Brawler? (DejaVu Sans)</span><br>
<span style="font-family: 'DejaVu Sans Mono'">Is this Brawler? (DejaVu Sans Mono)</span><br>

When embedding your own custom webfonts, only TTF fonts are supported.
JavaScript issues
Along with issues with modern SSL, you may also experience issues with modern JavaScript, not just with newer features, but also minified and compressed content.
I experienced syntax errors on minified JavaScript that worked elsewhere, and I ended up having to serve up 100% non-minified JavaScript in my application. I recommend serving up non-compressed (non-gzipped) content as well.
You can use this "Can I Use" browser set to limit your feature searches to just Chrome 5 or earlier (in Settings, Browsers, also uncheck everything but Chrome), to help determine how to support features you need.
Replacing wifi with Ethernet
The internal wifi adapter is connected over USB; you can remove it and replace it with a USB-to-ethernet adapter, instead. The USB ethernet adapter has to be supported by the Linux 2.6.28 kernel in the NeTV firmware; this limits you to some older (and potentially harder to find) models.
This Plugable brand USB 2.0 ethernet adapter specifically references its ASIX AX88772 chipset in the description, which is listed in the 2.6.28 kernel's asix.c code, and is what I have used successfully. I don't know if there's a good way to figure out what other devices are supported besides reading the Linux kernel source code.
This Homeseer forum post has a photo of one user's successful USB cabling, but the quote they include from a now-lost forum post recommends soldering, and if you're a front-end developer, that might not be a skill you have. Luckily, soldering isn't necessary, we can just adapt the kinds of cables used to break USB ports out from PC motherboards.
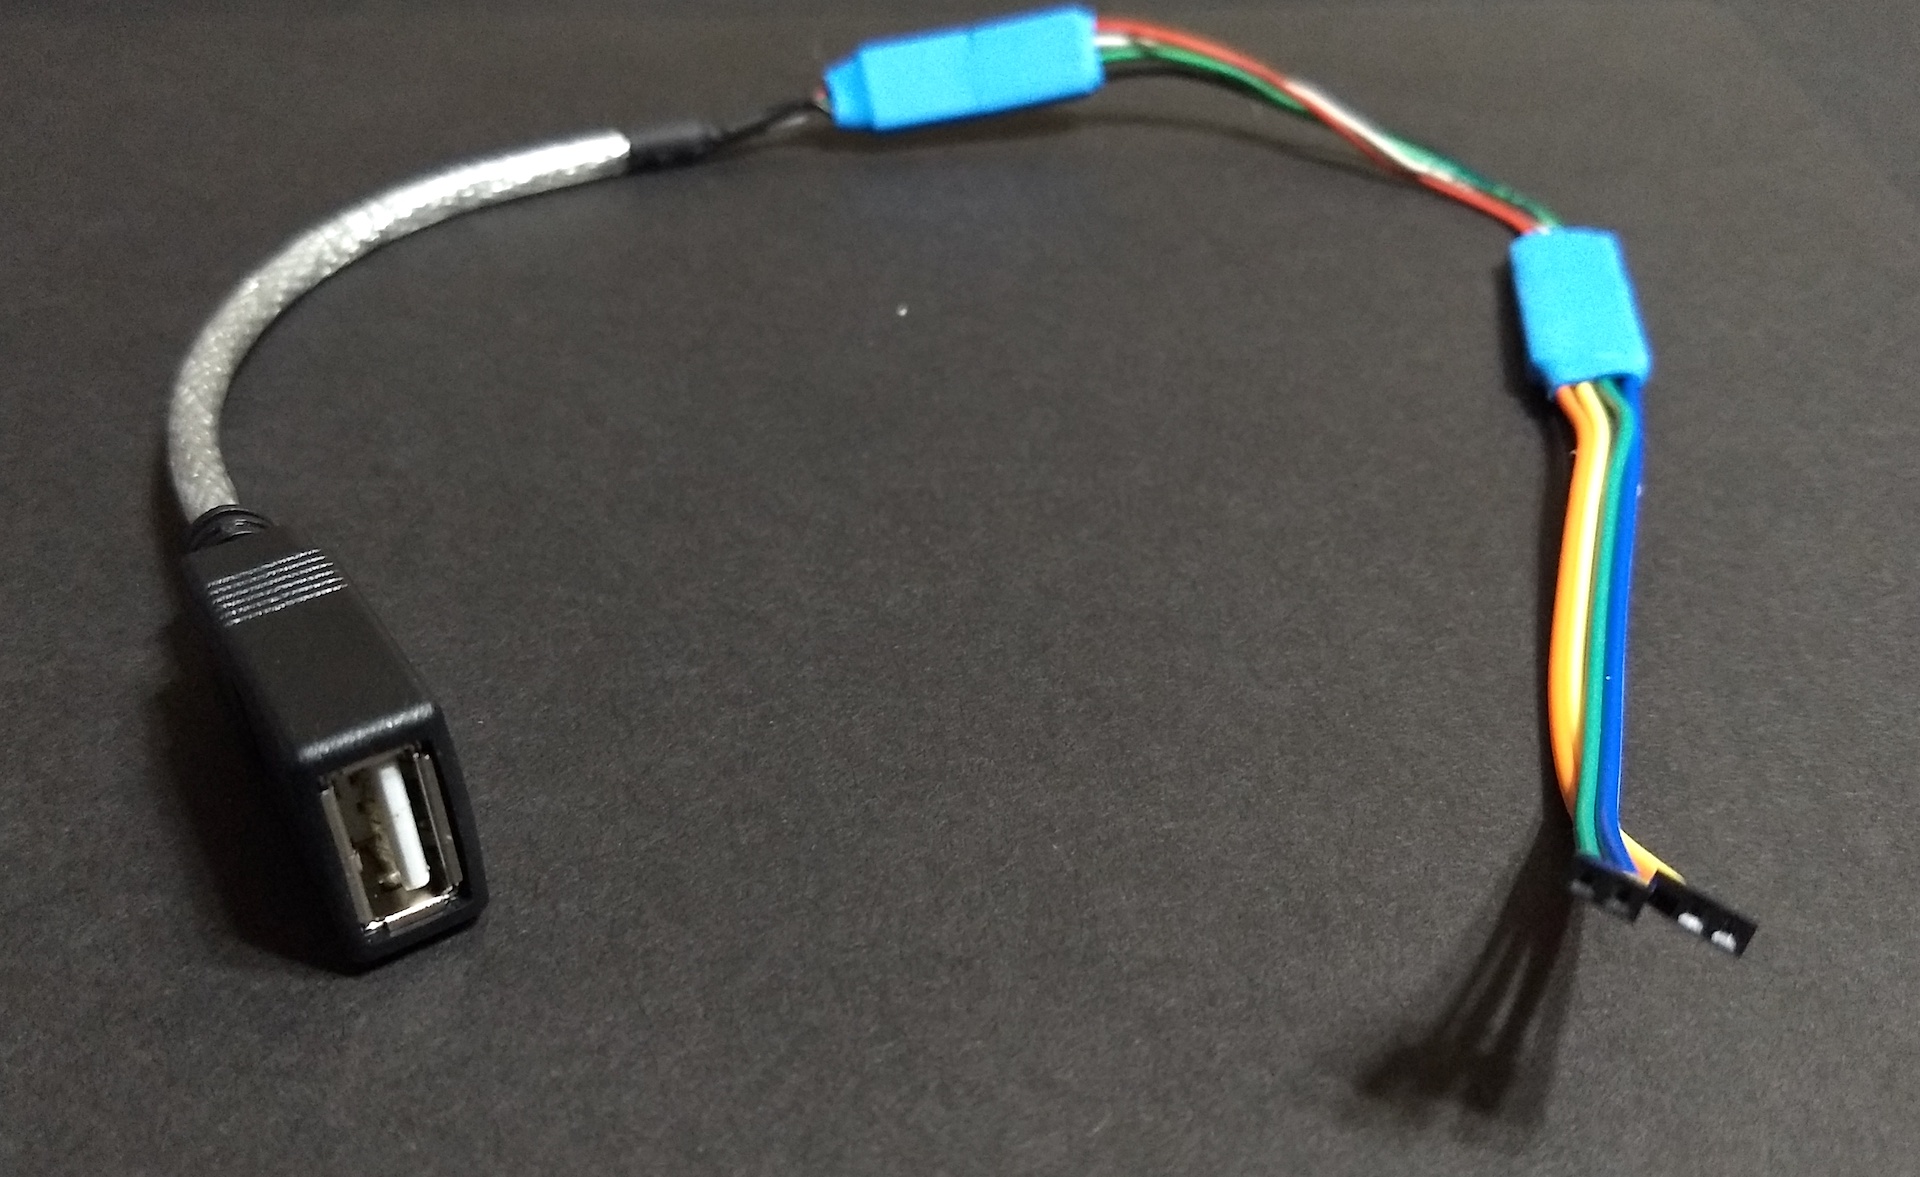
Take a USB A female-to-motherboard header cable, a set of 2.54mm (0.1") to 2.0mm jumper wires. We need the jumper wires because the pitch (space between pins) on PC motherboard pins is wider than the pitch on the NeTV. Those cables in particular are female-to-female, so we'll also need a set of male-to-male 0.1" pitch header pins to turn them around. (You can also use the breadboard jumper wires you might have laying around, but signal quality starts to become an issue the longer this makeshift cable gets.)
Then, assemble the cable straight through. Match colors if you can, label each wire if you can't.
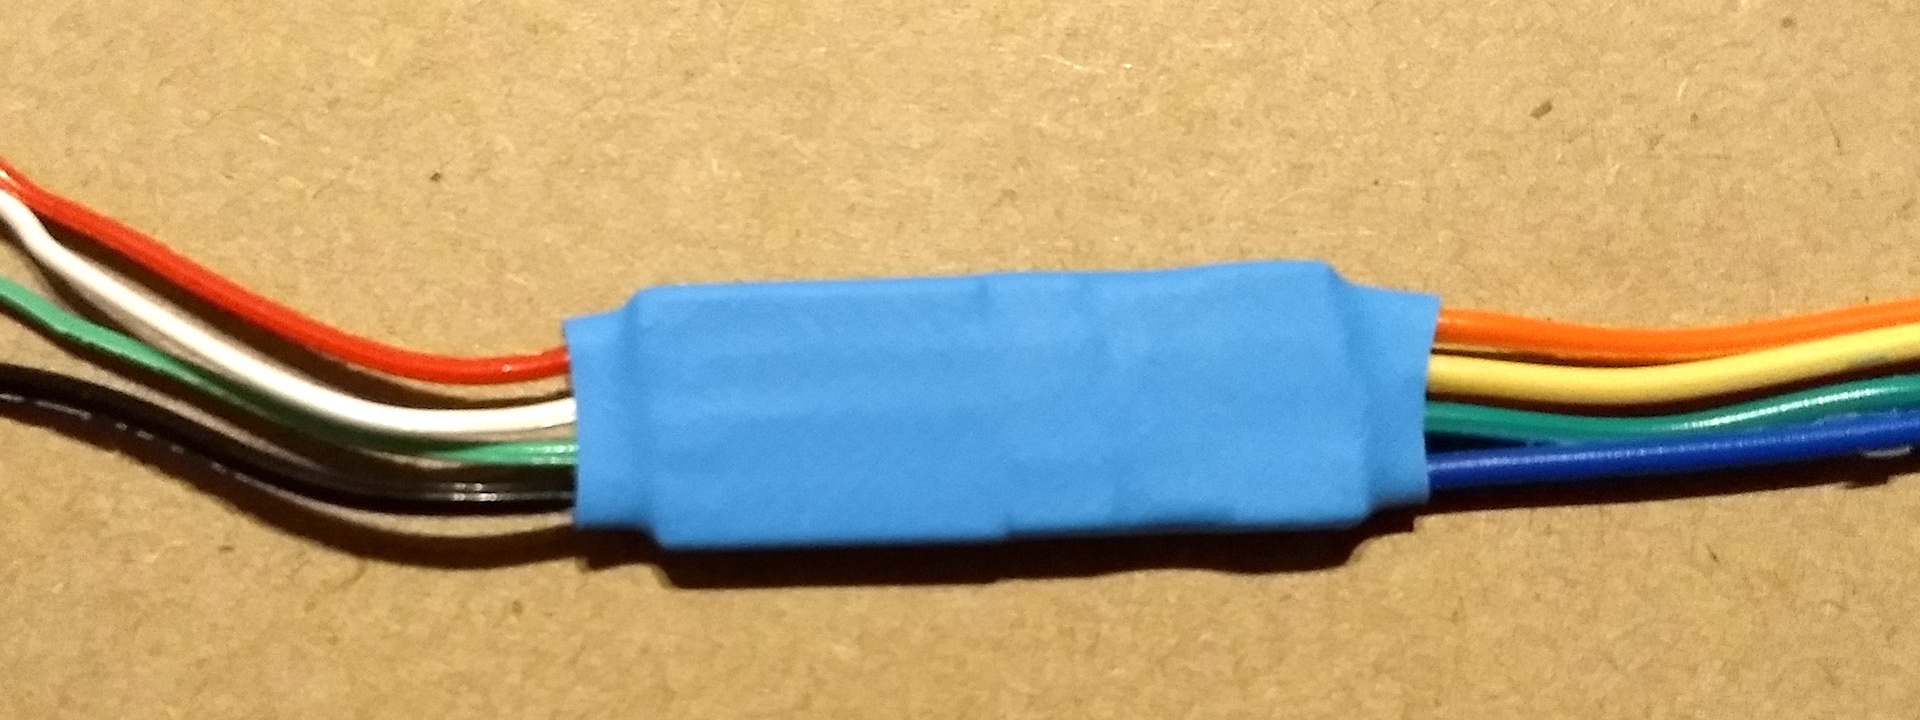
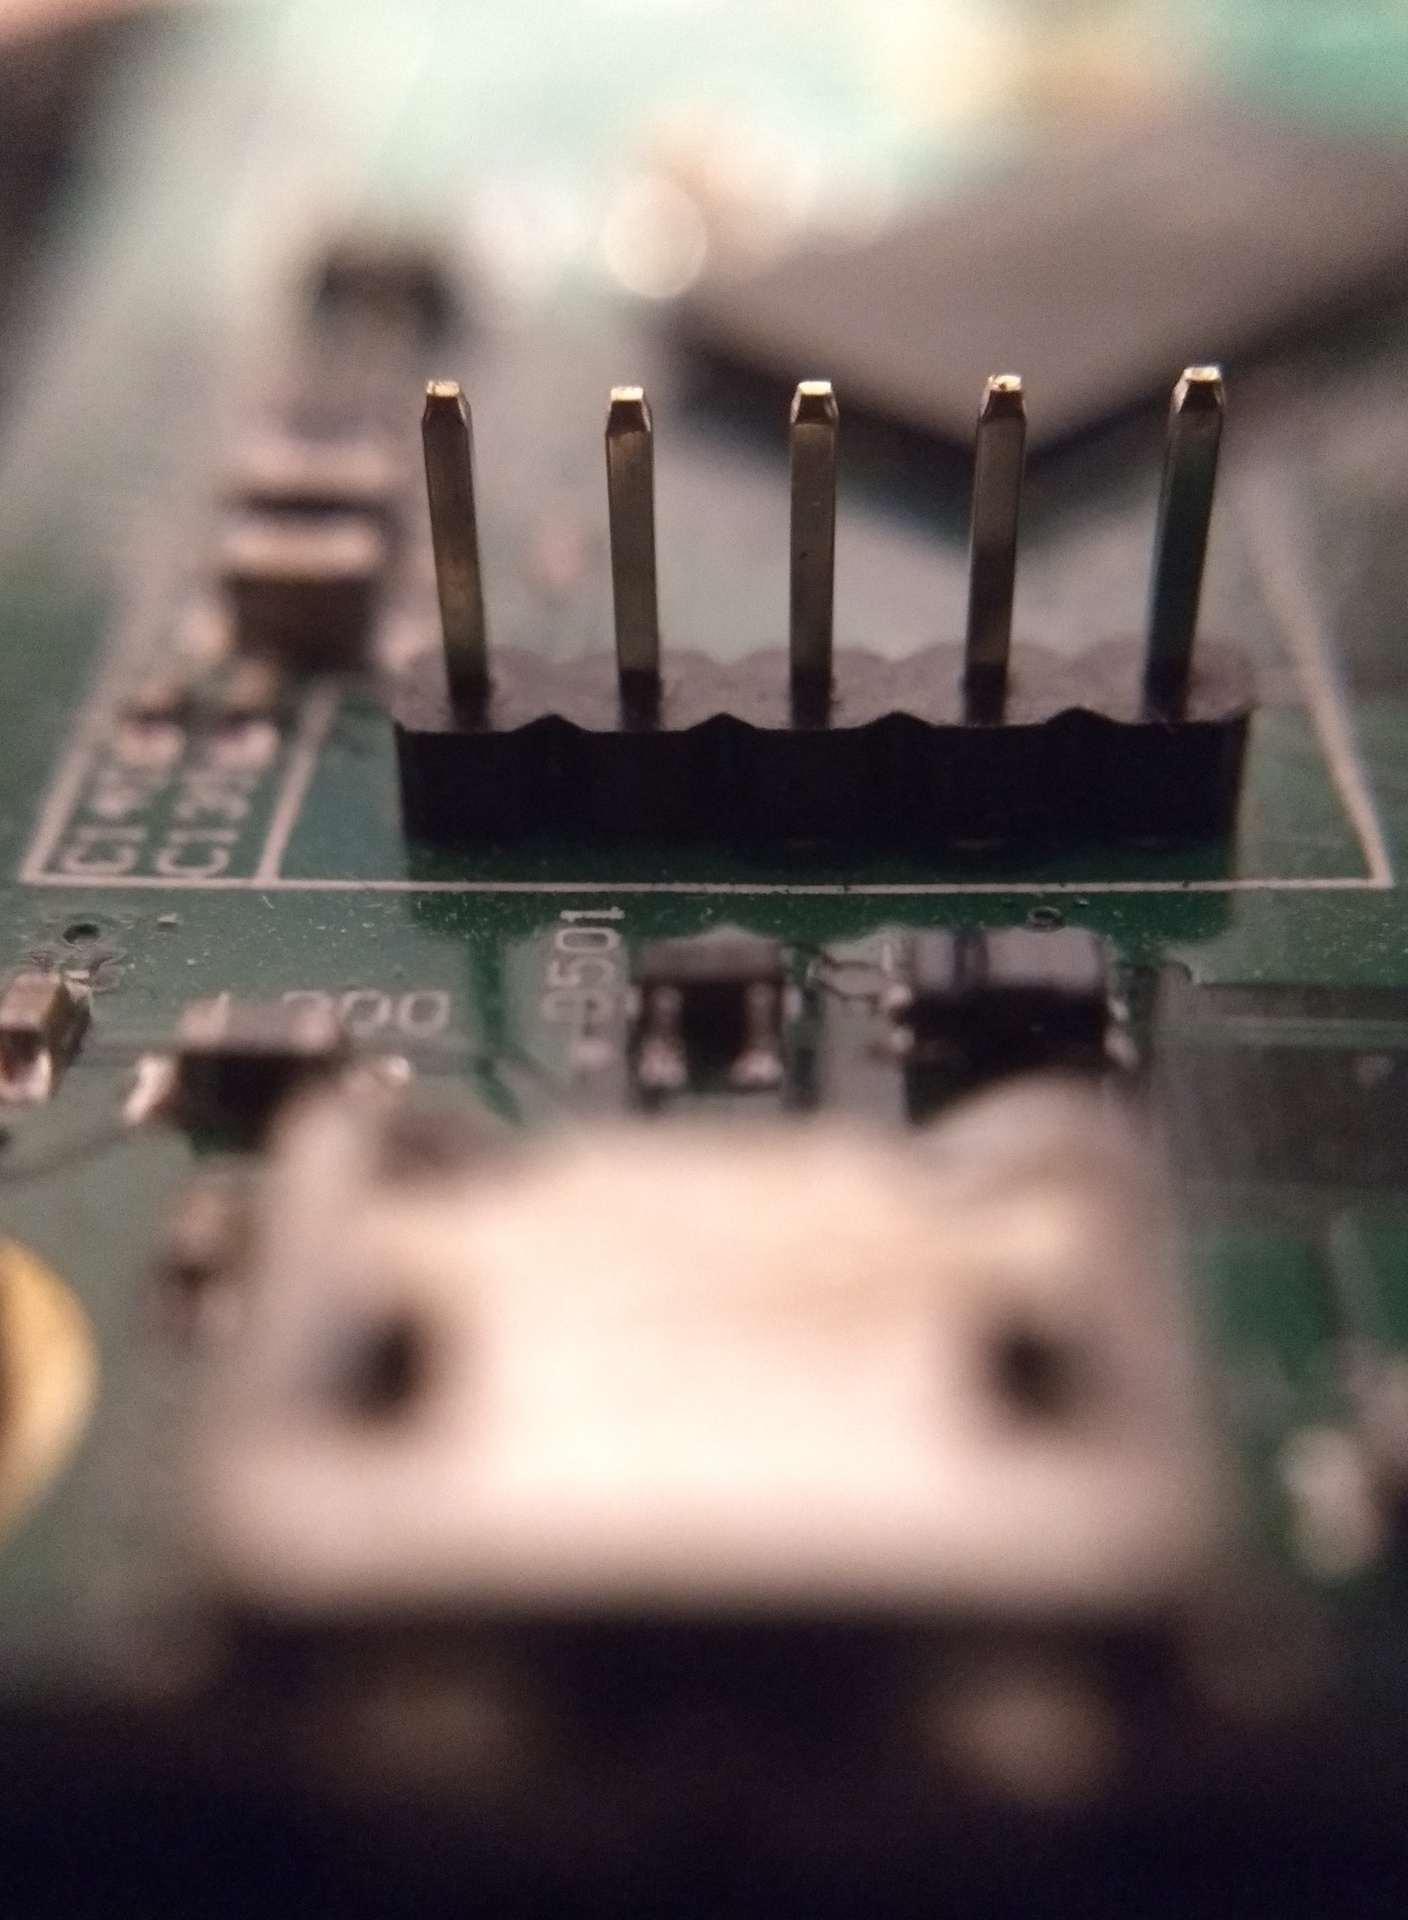
The "GND" (black), "D+" (green), "D-" (white) and "VCC" (red) wires on the USB A cable line up on the NeTV pins left to right as you look at them from the micro USB port side: an unused pin, then GND, D+, D-, and VCC.

The forum post quoted on Homeseer suggests it'll be more reliable to use a powered USB hub off this adapter, but if you're only using it for USB ethernet, you might be fine.
You may be able to run the wires through the hole in the case meant for the IR receiver, if you remove the translucent cover.
SD cards
The NeTV runs its software off an SD card, and consumer SD cards are not meant for always-on use. I've had them wear out in as little as two years of constant use. I've also had unused ones experience bitrot, and need to be reformatted and tested. If you've used a Raspberry Pi for any length of time, you've probably experienced this, too, and the NeTV is no different. Look for "industrial" cards from a reputable vendor if this is your use case.
Benchmarks
It's tricky to benchmark the NeTV's embedded WebKit due to the aforementioned SSL issues, as most benchmarks serve themselves up over modern TLS, and many expect JavaScript features without testing for them.
Two benchmarks that work over unencrypted HTTP are:
- SPEED-BATTLE: 24.21
- HTML5 test: 156 out of 555
Octane 2.0 reports a lack of Typed Array support, and eventually locks up the NeTV, but the individual results before then are:
- Richards: 212
- Deltablue: 91.3
- Crypto: 264
- Raytrace: 50.1
- EarleyBoyer: 117
- Regexp: 34.2
Dromaeo also eventually makes the NeTV unresponsive if you run all the recommended tests together. Running them individually (restarting NeTVBrowser between each one) returns:
- Dromaeo JavaScript Tests: 14.67runs/s
- SunSpider JavaScript Tests: 16.31runs/s
- V8 JavaScript Tests: 5.76runs/s
- DOM Core Tests: 26.18runs/s
Even when run locally over HTTP, JavaScript parsing errors keep all of the browserbench.org benchmarks from working.
Compare to casual runs on Chromium 60 on a Raspberry Pi 3 B+ (which you'd probably be using with an NeTV2), or to Chrome 72 on a Ryzen 7 1700X with a GTX 1080:
| Benchmark | NeTV | RPi3B+ | Ryzen 7 |
|---|---|---|---|
| SPEED-BATTLE | 24.21 | 64.24 | 926.4 |
| HTML5 test | 156 | 512 | 535 |
| Richards | 212 | 920 | 21139 |
| Deltablue | 91.3 | 1477 | 56313 |
| Crypto | 264 | 1463 | 34508 |
| Raytrace | 50.1 | 1275 | 79327 |
| EarleyBoyer | 117 | 1931 | 45935 |
| Regexp | 34.2 | 476 | 5807 |
| Dromaeo | 14.67runs/s | 124.17runs/s | 2003.11runs/s |
| SunSpider | 16.31runs/s | 189.04runs/s | 2610.76runs/s |
| V8 | 5.76runs/s | 71.95runs/s | 1725.54runs/s |
| DOM Core | 26.18runs/s | 157.15runs/s | 2995.16runs/s |
These results are as much a factor of the faster CPUs as the newer browsers, but if you're not rendering mostly static content with the original NeTV, you should expect to need to do additional testing and optimization.
I'm Vitorio, it's January 2017 May 2018 March 16, 2019, thanks for your time. These are my notes from building a version of snarky-screening for the original NeTV in November and December 2016, in which a Microsoft Bot Framework bot would monitor a Skype group chat and use the NeTV to display heckling over a video.
Updated March 17, 2019 with SD card comments and benchmark results.